Infotypes – Customize Infotype Overview
Use this procedure to customize an infotype overview table settings within HRMS.
Customizing layouts will allow a user to adjust, move, or remove fields within any Overview screen. Users will need to create individual layouts within each screen they would like to customize their view.
Customizing overview tables is available in many tables within HRMS, however for these procedures we will use Display Master Data (PA30) – Absences (2001) infotype overview table as an example.
Each infotype and the corresponding records held within it are configured differently. Some infotypes will only allow one active record (example: 0007 - Planned Working Time), some will allow multiple active records (example: 0021 - Family Member/Dependents Emergency Contact) and some will only allow one record (example 0003 - Payroll Status). Creating a custom overview layout is not available within infotypes that only allow one record.
-
Step 1
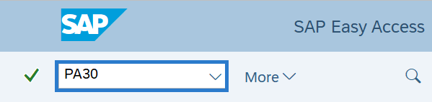
Enter the transaction code for the transaction you would like to perform into the Command Field and click the Enter button.
-
Step 2
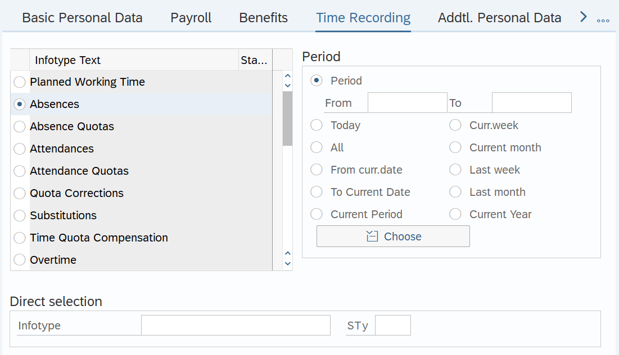
On the Time Recording tab, select the Absences radio button.
 TIPS:
TIPS:The Absences (2001) infotype is used in this example, however, the steps remain the same for customizing the overview of other infotypes.
-
Step 3
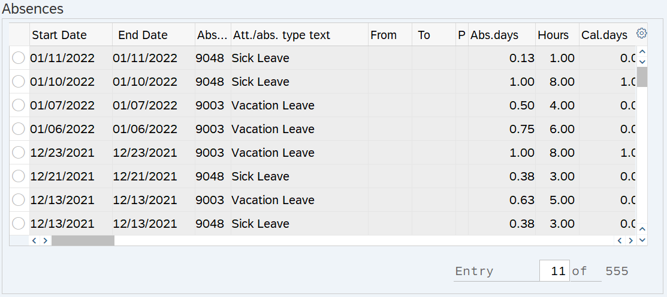
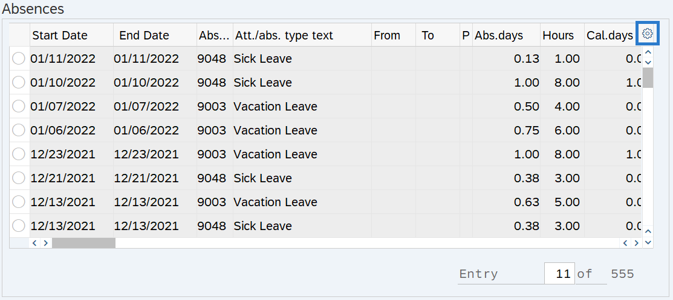
Click the Overview button to view the overview table, which contains all records for that infotype.
TIPS:An overview of the employee’s infotype records will open.
-
Step 4
Move fields to desired location.
TIPS:To move fields, click on the field and drag it from one location to another.
To remove fields, click the right border line and drag the line until it touches the left border line.
-
Step 5
Once you have your desired layout created, click the Configuration button.
-
Step 6
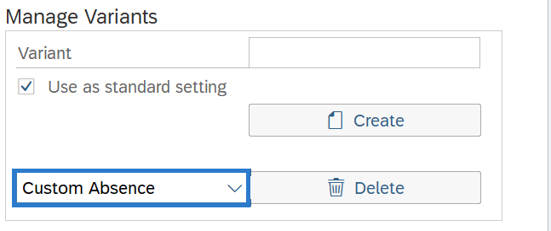
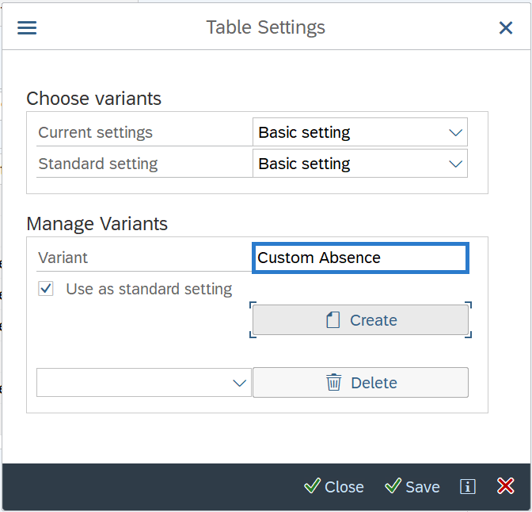
Enter a Variant name in the Manage Variants section of the Table Settings box.
-
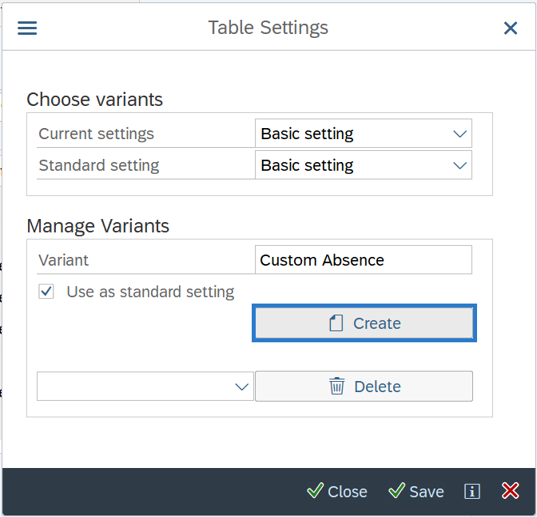
Step 7
Click the Create button.
 TIPS:
TIPS:HRMS will automatically update the Current settings and the Standard setting fields to match your Variant name. To make this your default layout, verify the Use as standard setting box is still selected before saving.
-
Step 8
Click the Save button.
TIPS:To update your Variant, make the desired changes to the layout within the applicable infotype overview and click the Configuration button. In the Table Settings box, verify you have the correct Variant you wish to update and click the Save button.
To discontinue use of your Variant as the default, or to view the standard layout, click the Configuration button to open the Table Settings box within the applicable infotype overview. Change the Current and Standard settings to Basic Setting, then click the Save button.
To Delete your Variant so it can no longer be used, click the Configuration button to open the Table Settings box. Next to the Delete button, select the variant you wish to delete in the drop down box, then click the Delete button: