Using the Period Selection
Procedure Updated:
08/09/2022
The Period selection allows you to view records within a certain date range identified by the user or enter the effective dates from here when creating a new infotype record. The Period selection is available in multiple transactions. For this example, we will use PA20 (Display HR Master Data), however this function is also available in many other areas of the system
-
Step 1
Enter PA20 in the Command Field and click the Enter button.
-
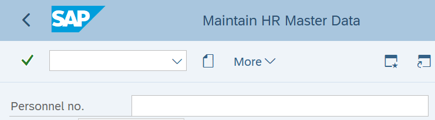
Step 2
Enter the Personnel Number for the employee and press the Enter button to populate the data.
-
Step 3
Select the Period you would like to view in the Period Selection Box.
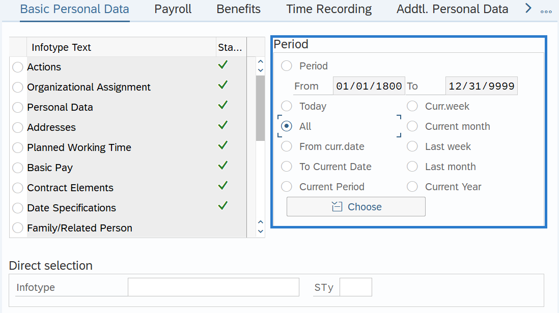 TIPS:
TIPS:- Period – Allows the user to identify an exact date range
- Today – Everything up to today
- All – Allows the user to view all records
- From curr.date – today forward
- Remaining Period Selection options do not function as expected.
-
Step 4
Select the desired infotype radio button.
-
Step 5
Select the desired function from the Application Toolbar (ie. Display, Change, Copy, Delimit, or Delete).