Date Specifications - Change Existing Record
Use this procedure to make a correction to an existing Date Specifications (0041) infotype record.
Be sure to communicate with your payroll processor before entering retroactive changes to an employee's Date Specifications (0041) infotype record.
If you are retroactively adjusting date types that affect an employee’s leave accrual (Anniversary Date or Unbroken Service Date), this procedure may require a hand-off to the time and attendance processor, depending on the structure of your agency and your role at your agency. The time and attendance processor should refer to the Time Evaluation procedure to reevaluate the employee’s leave accruals.
-
Step 1
Enter transaction code PA30 in the command field and click the Enter button.
-
Step 2
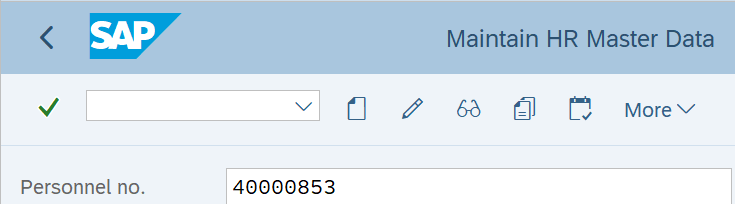
Complete the following fields:
- Personnel no.
-
Step 3
Click the Enter button to populate the employee information.
-
Step 4
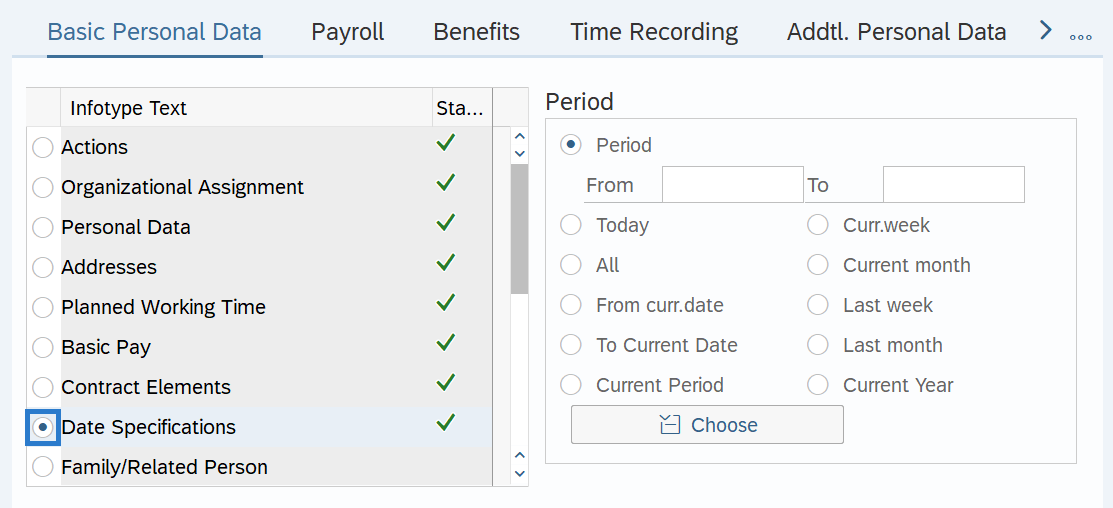
On the Basic Personal Data tab, select the Date Specifications radio button.
-
Step 5
Click the Overview button.
-
Step 6
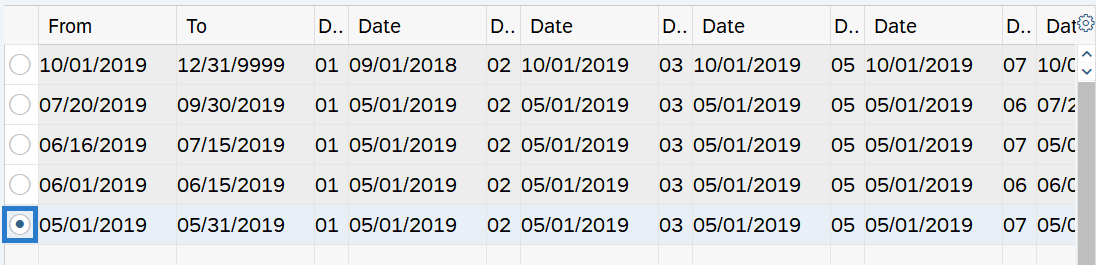
Select the incorrect record.
-
Step 7
Click the Change button.
TIPS:Using the Change button overwrites the existing record and should only be used when making corrections.
-
Step 8
Verify the Start and To dates.
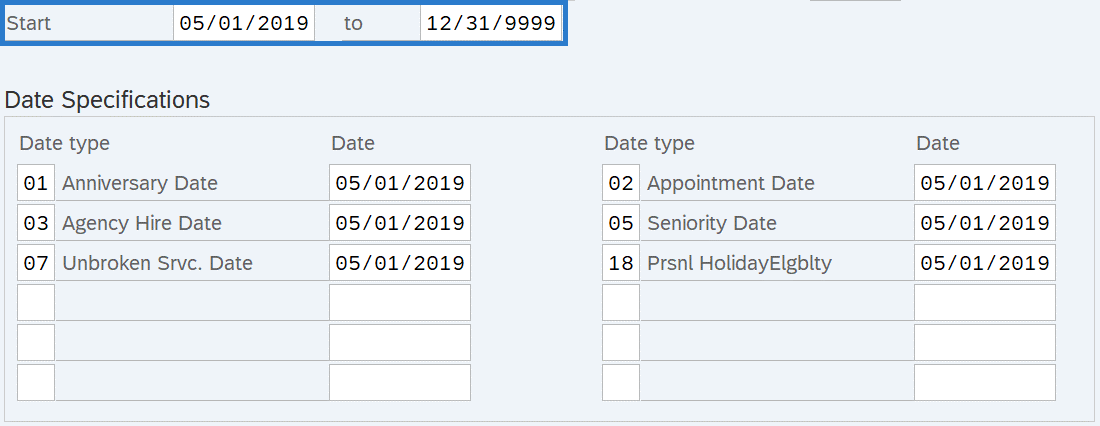 TIPS:
TIPS:In most cases, the start and to dates should remain the same. Changing the start or to dates will delete the record being updated.
-
Step 9
Make the necessary corrections to the Date Types and corresponding Dates.
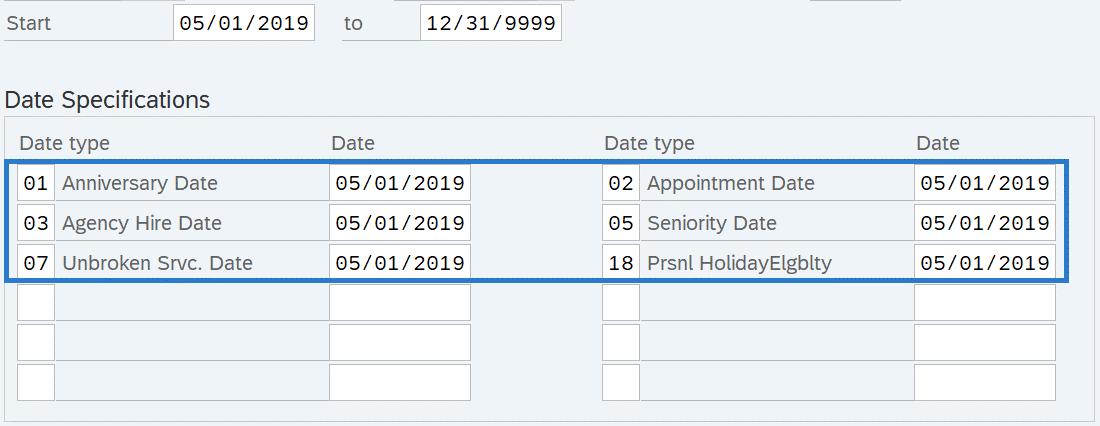 TIPS:
TIPS:When entering dates for Justified Excess Vacation (JEV) you must enter the JEV Begin Date (16) and JEV End Date (17) date types. If the JEV end date is not entered, the employee will continue to accrue JEV indefinitely
-
Step 10
Click the Enter button to validate the information.
-
Step 11
Click the Save button.