New Hire Action (PA) - Change Hire Date After Day 4
Use this procedure to change an employee’s start date after the new hire action has been completed and payroll has stored for the pay period.
Do not use this procedure if the employee’s Payroll Results are from the current period and it is prior to Payroll Day 3 finalizing. Follow the New Hire Action (PA) - Change Hire Date Before Payroll Day 4 procedure instead.
You can check for Stored Payroll Results by following the Payroll Results Table Reports procedure.
You cannot change the start date of an employee on Actions (0000) infotype after payroll has exited. You will receive the message “personnel number was already accounted do not change entry date.”
Do not delete the New Hire action after Payroll Day 3.
Work with your payroll processor and time and attendance processor to correct any wage types and/or absence types that need to be adjusted to accurately reflect hours worked.
Work with your benefits processor to make any necessary corrections in Pay1 and ERA; corrections to benefits infotype start dates in HRMS are not required. Manual wage type adjustments may be necessary; benefits and payroll processors should work together as needed.
If the correct start date is after the original start date entered and you paid the employee for hours they didn’t actually work, work closely with your payroll office regarding the overpayment. The following resources will be helpful when correcting the overpayment:
- Salary overpayment resources available on OFM’s Statewide Accounting website.
- The OFM Help Desk for help identifying necessary correction entries in HRMS, HereToHelp@ofm.wa.gov.
- Overpayment and Reversing Payroll user procedures.
-
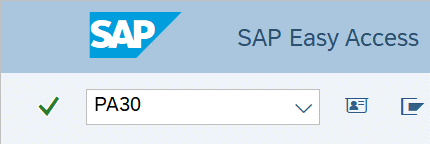
Step 1
Enter transaction code PA30 in the command field and click the Enter button.
-
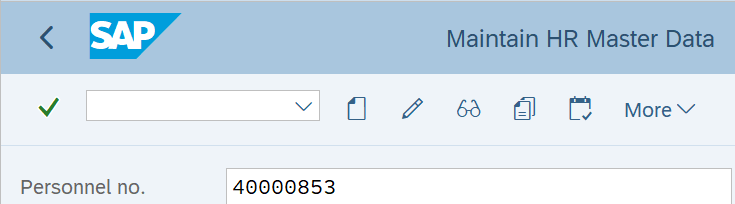
Step 2
Complete the following fields:
- Personnel no.
-
Step 3
Click the Enter button to validate the information.
-
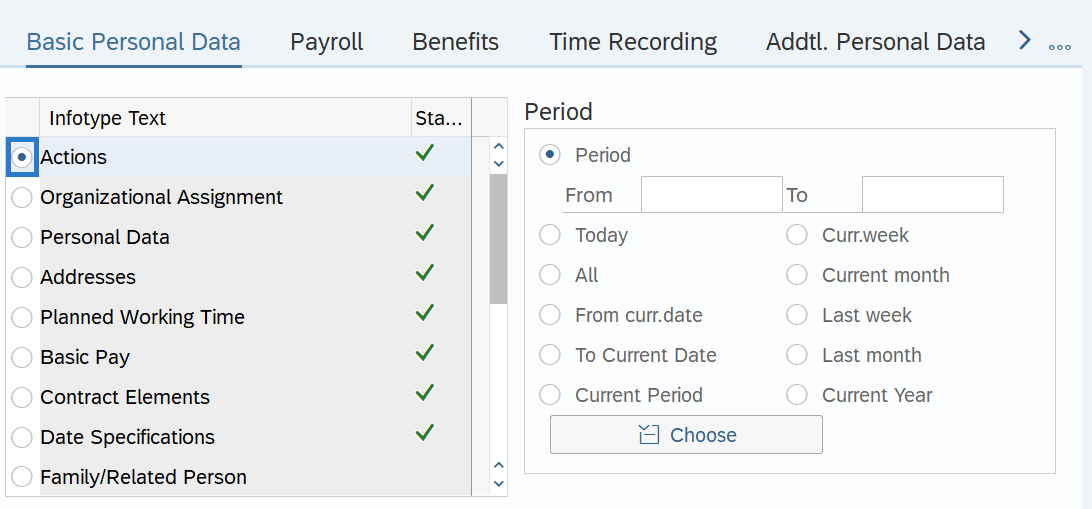
Step 4
On the Basic Personal Data tab, select the Actions radio button.
-
Step 5
Click the Overview button.
-
Step 6
Select the New Hire Action with the incorrect Start Date radio button.

-
Step 7
Click the Change button.
-
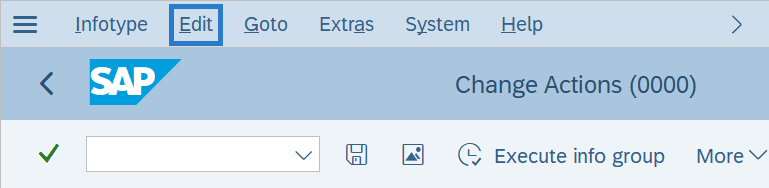
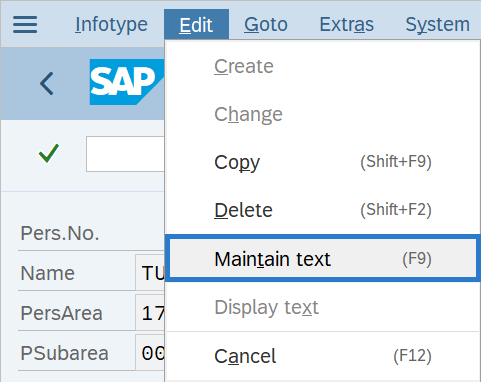
Step 8
Select Edit from the menu bar.
-
Step 9
Select Maintain text.
-
Step 10
Enter a note explaining the correction to the employee’s hire date in the Maintain text window.
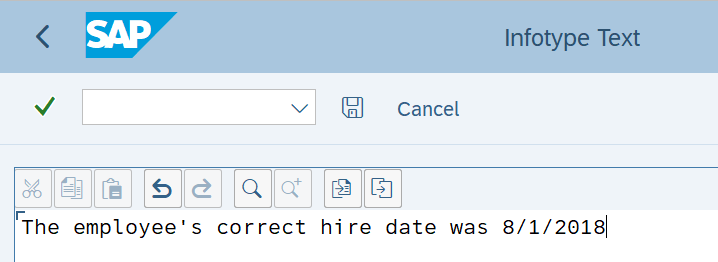 TIPS:
TIPS:There is currently no spell check or specified format for entering your message. As a suggestion, we recommend starting the message with the date and user’s personnel number or name.
-
Step 11
Click the Save button.
TIPS:The system will direct you back to the Action screen and a Note Icon will have populated.
-
Step 12
Click the Enter button to validate the information.
-
Step 13
Click the Save button.
-
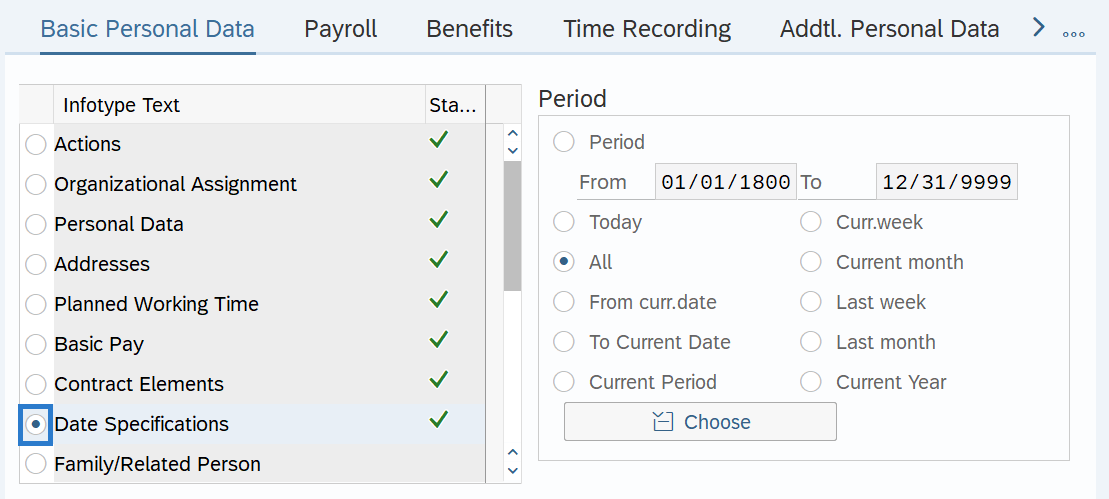
Step 14
On the Basic Personal Data tab, select the Date Specifications radio button.
-
Step 15
Click the Overview button.
-
Step 16
Select the record to be corrected.
 TIPS:
TIPS:Repeat this process if multiple date specifications records exist and need to be corrected.
The current record will have a “To” date of 12/31/9999.
-
Step 17
Click the Change button.
-
Step 18
Correct all necessary Date Types and Dates.
The following fields will require corrections:
- Anniversary Date (01)
- Appointment Date (02)
- Agency Hire Date (03)
- Seniority Date (05)
- Unbroken Srvc. Date (07)
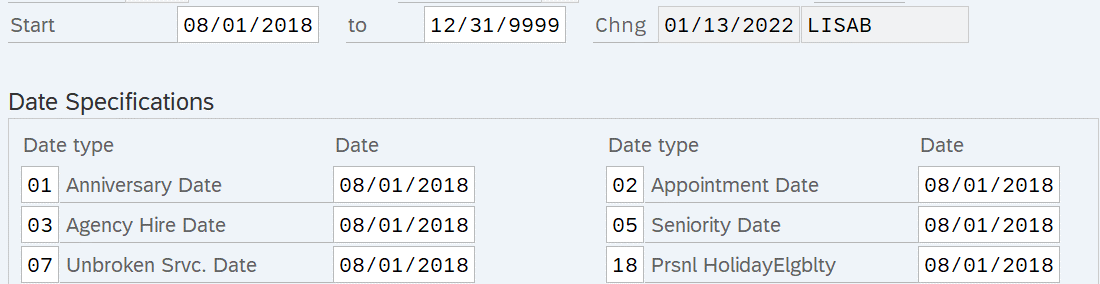 TIPS:
TIPS:The Start date of the original record will remain the original Start date. Only Date Type dates should be adjusted.
If any additional Date Types were added during the new hire action, then update those as appropriate.
-
Step 19
Select Edit from the menu bar.

-
Step 20
Select Maintain text.

-
Step 21
Enter a note explaining the correction to the employee’s hire date in the Maintain text window.
 TIPS:
TIPS:There is currently no spell check or specified format for entering your message. As a suggestion, we recommend starting the message with the date and user’s personnel number or name.
-
Step 22
Click the Save button.
TIPS:The system will direct you back to the Date Specification Record screen and a Note Icon will have populated.
-
Step 23
Click the Enter button to validate the information.
-
Step 24
Click the Save button.
TIPS:Wage types and/or absence types will need to be adjusted to accurately reflect hours worked.
Enter or correct the Next Increase Date on the Basic Pay (0008) infotype to ensure the employee receives their scheduled increase on the correct date. Refer to the Basic Pay - Add Next Increase Date procedure.
Correct any applicable Date of Tasks and Reminder Dates on the Monitoring of Tasks (0019) infotype. Refer to the Monitoring of Tasks - Update Status or Extend Record procedure.
Stop:This will mark the end of the action. After saving, click the Exit button. Communicate with your payroll, benefits, and time and attendance processors regarding the incorrect hire date because they may need to make corrections as well.