Basic Pay - Add Next Increase Date
Use this procedure to enter the date of the employee’s periodic increment or longevity increase in the Next Increase field in Basic Pay (0008) infotype when there is a need to override the automated Periodic Increment Date (PID) and Longevity Date process.
There is a need to override the date for the PID or Longevity Date process when:
- A new hire or rehire starts at the first step of their range and should receive their first PID in six months and the Next Increase field was left blank during the personnel action.
- An employee moves to a new salary range.
- Special rules or provisions advance or postpone the PID.
- An employee is eligible for a longevity increase earlier than six years from the appointment date at that range.
- An employee was previously in a certain salary range in the past and returns to it in the future.
- An employee is directly valued and assigned the standard progression pay scale area (must enter a Next Increase date of 12/31/9999).
When there is not an override date in the Next Increase field, HRMS automates the periodic increment or longevity increase based on the consecutive time an employee is at a PS Type, PS Area, PS Group, and PS Level. The automated PID process runs in the evening of every Payroll Day 0.
Refer to the Periodic Increment and Longevity Increase Projection Report and Periodic Increment and Longevity Historical Report procedures for information on running PID projection and historical data.
Be sure to communicate with your payroll processor before entering retroactive changes to an employee's Basic Pay (0008) infotype record.
-
Step 1
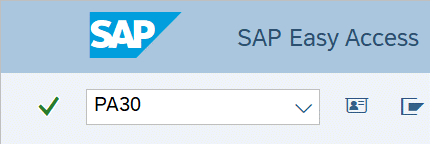
Enter transaction code PA30 in the command field and click the Enter button.
-
Step 2
Complete the following fields:
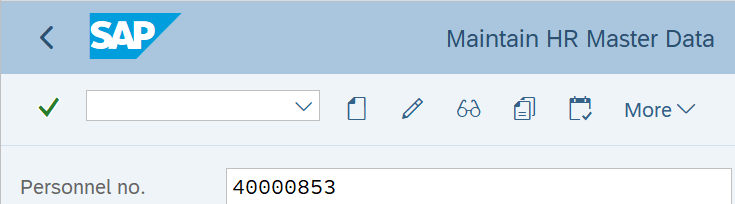
- Personnel no.
-
Step 3
Click Enter to populate the employee information.
-
Step 4
On the Basic Personal Data tab, select the Basic Pay radio button.

-
Step 5
Click the Overview button.
-
Step 6
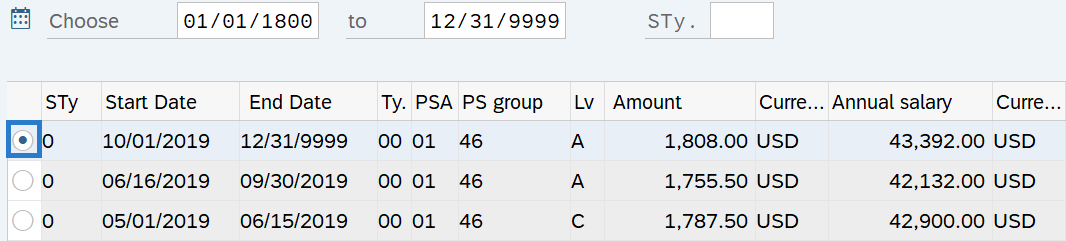
Select the record you wish to copy.
-
Step 7
Click the Copy button.
-
Step 8TIPS:
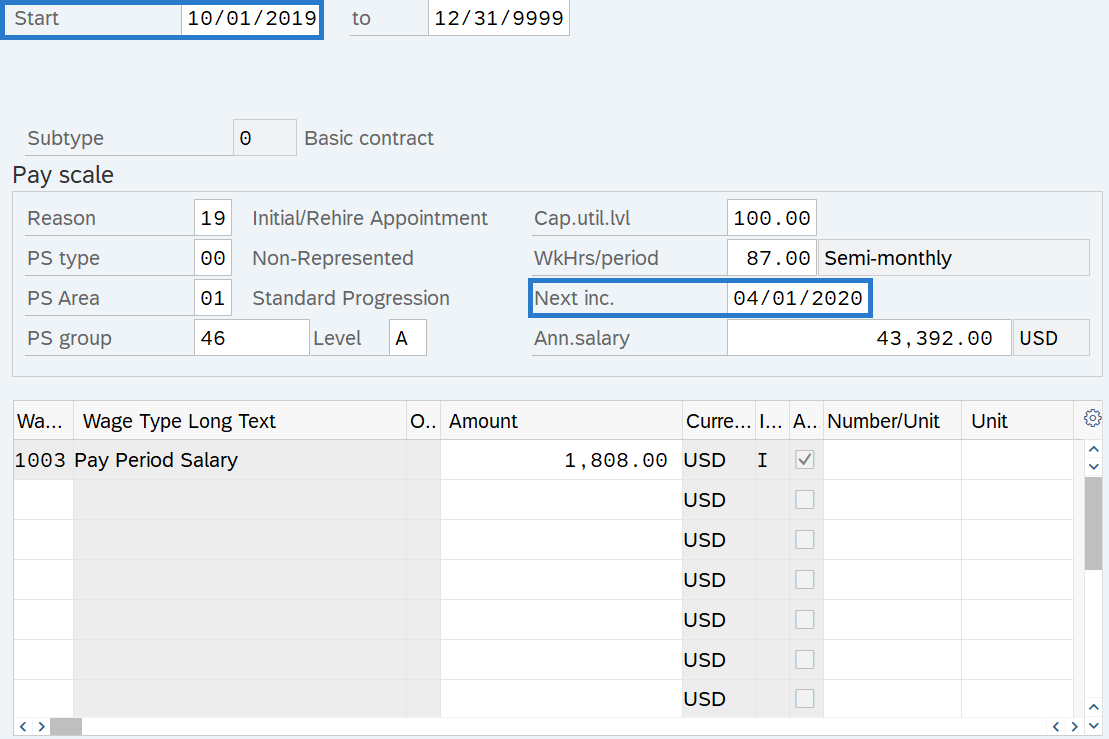
When using the Copy button, the Start date will populate with the date of the existing record. Be sure to enter the new Start date to keep the history of the existing record and to prevent retroactive activity. The new, active record should have an end date of 12/31/9999.
Next Inc. is the date an employee is scheduled to move to a higher salary step within the salary range of their current job class. This field is used as an override when there are exceptions to the rules built into the system, or if an agency prefers to manually enter this date. If no date is entered, the system will follow the Automated PID Process.
There is a need to override the date for the PID or Longevity Date process when:
- A new hire or rehire starts at the first step of their range and should receive their first PID in six months and the Next Increase field was left blank during the personnel action.
- An employee moves to a new salary range.
- Special rules or provisions advance or postpone the PID.
- An employee is eligible for a longevity increase earlier than six years from the appointment date at that range.
- An employee was previously in a certain salary range in the past and returns to it in the future.
- An employee is directly valued while using the standard progression pay scale area (must enter a Next Increase date of 12/31/9999).
-
Step 9
Click the Enter button to validate the information.
-
Step 10
Click the Save button.