Separation Action (BN) - Correct Erroneous Separation Date
Use this procedure to correct a separation date of an employee who had the incorrect effective date entered during a separation action.
This procedure will take you through the steps to extend the end date of infotypes delimited during the erroneous separation action. Once all roles have completed their deletions and/or corrections, the Personnel Administration Processor will enter a new separation action with the correct separation date.
The personnel administration, payroll, and time and attendance processors must correct all entries made during the separation action. It is important to communicate with these other roles once you have completed the corrections below to identify and remedy any over/underpayment situations if necessary.
Effective Dates for all records should follow the Effective Dating Infotypes guidelines.
The personnel administration processor should always delete the Organizational Assignment screen last. This will ensure that all of the processors still have security access to the employee while making corrections.
This is a generalized example of correcting a Separation Date. The steps may vary depending on the infotypes that were delimited during the Separation Action. For specific instructions, please contact HereToHelp@ofm.wa.gov.
Please Note: for this example, we will use an employee whose original incorrect Separation Date was 8/1/2018 and the employee’s Separation Date should have been 8/16/2018. Each infotype created during the Separation Action will be extended or deleted and a correct PA40 separation action will be entered.
-
Step 1
Ensure the Time and Attendance processor has extended all end dates that were delimited or deleted infotype records that were created during their portions of the erroneous Separation Action.
Infotype Number Infotype Name Corrections for Erroneous Separation Date 0416 Time Quota Compensation Delete -
Step 2
Identify each benefits infotype that was created or delimited with an erroneous separation effective date.
Infotype Number Infotype Name Corrections for Erroneous Separation Date 0167 Health Plans Extend to 12/31/9999 0169 Savings Plans Extend to 12/31/9999 0171 General Benefits Information Extend to 12/31/9999 0376 Benefits Medical Information Extend to 12/31/9999 0377 Miscellaneous Plans Extend to 12/31/9999 TIPS:Extend the end date of each record that was delimited with an erroneous separation effective date, prior to processing the separation action with the correct date.
When the correct Separation Action is entered, infotypes extended to 12/31/9999 will be delimited with the correct end date according to the Effective Dating Infotypes table.
-
Step 3
Enter transaction code PA30 in the command field and click the Enter button.
-
Step 4
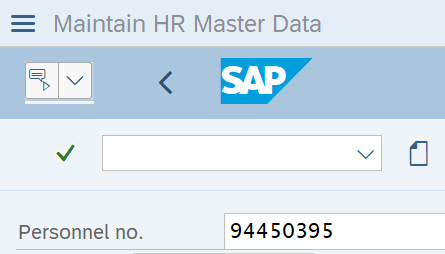
Complete the following fields:
- Personnel no.
-
Step 5
Click the Enter button to populate the employee information.
-
Step 6
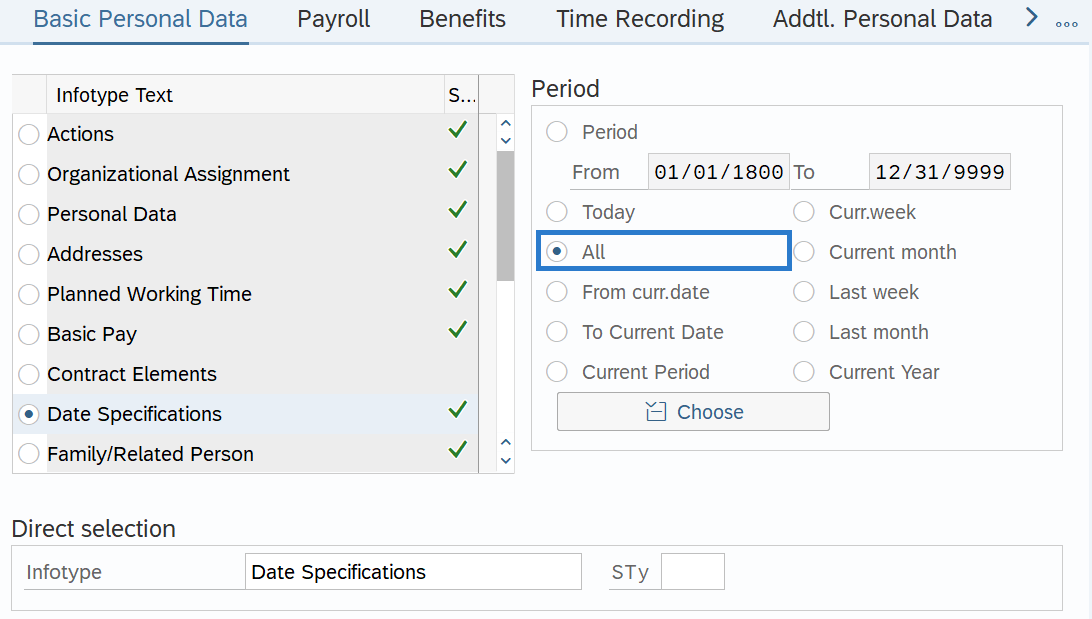
Select ALL radio button in the Period selection box.
-
Step 7
On the Benefits tab, select the General Benefits Information radio button.
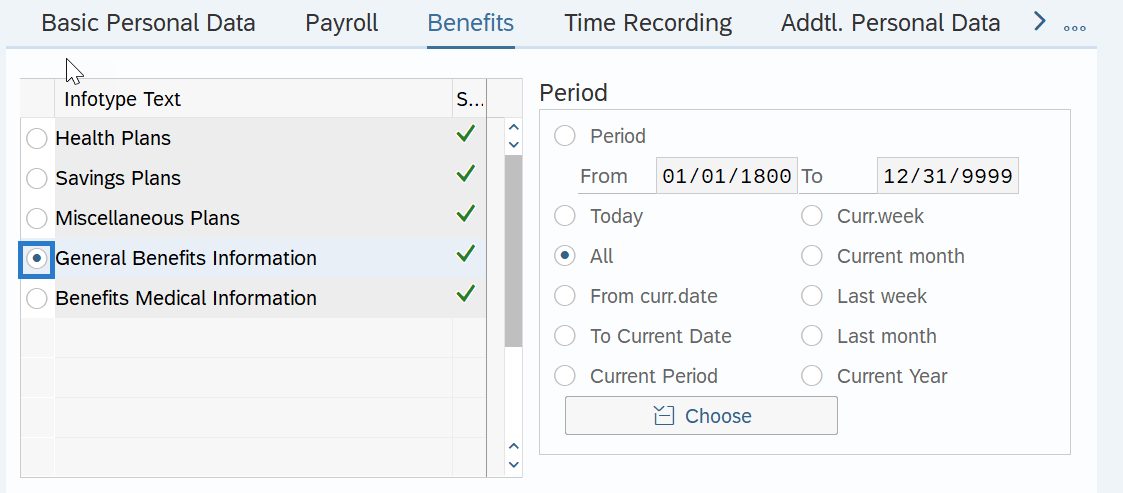 TIPS:
TIPS:It is recommended to begin with the General Benefits Information (0171) infotype record to avoid an error within the Savings Plans (0169) infotype record while extending the record to 12/31/9999.
-
Step 8
Click the Overview button.
-
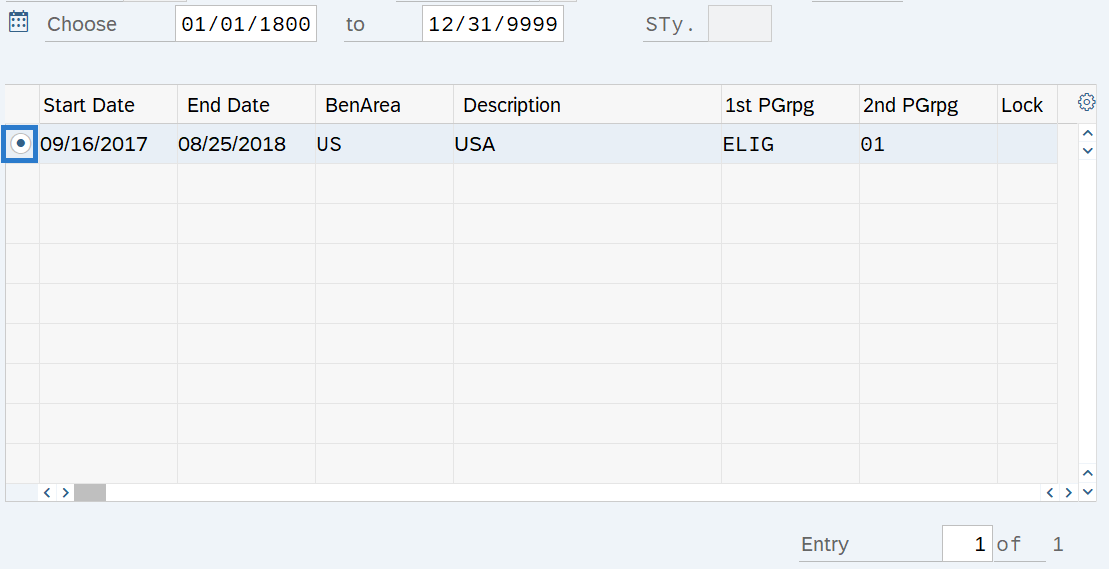
Step 9
Select the General Benefits Information record radio button erroneously delimited in the Separation Action.
-
Step 10
Click the Change button.
-
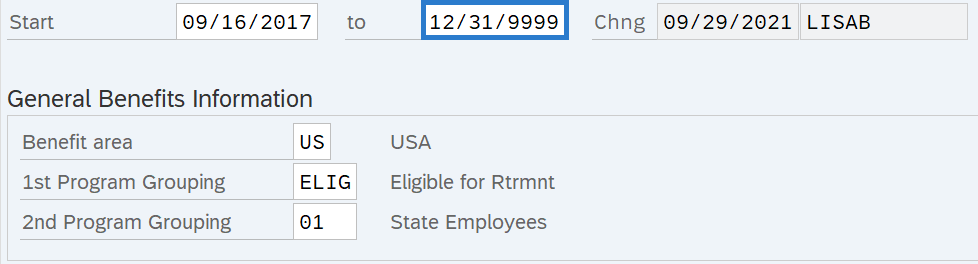
Step 11
Update the To date to 12/31/9999 to extend the record.
-
Step 12
Click the Enter button to validate the information.
-
Step 13
Click the Save button.
TIPS:After clicking Save, you will be taken back to the General Benefits infotype. Click the Back button to return to the Benefits tab and repeat steps with other infotypes, as necessary.
Stop:Once all time, benefits, and payroll erroneous records have been corrected in HRMS, notify the personnel administration processor so they may proceed with the Separation Action (PA) - Correct Erroneous Separation Date procedure. The personnel administration processor will notify you when they are completed with their portion of the correct Separation Action, then follow the Separation Action (BN) – Create Separation Action procedure.
Again, it is important to communicate with all impacted roles to identify and remedy any over/underpayment situations as needed.