Appointment Change Action (PY) - Transfer Same Agency
Use this procedure to complete the payroll portion of an appointment change action for an employee who is moving to a different position within their current agency. The personnel administration portion of the Appointment Change action must be completed first.
If the employee is changing mid-period from or to the 24/7 (R030) work schedule rule, additional action is needed so that HRMS can accurately calculate the proration of time for each schedule. When there is a mid-period change with a 24/7 (R030) work schedule rule, work with the personnel administration and time and attendance processors to either start the work schedule on the first day of the period or create a schedule substitution that reflects the employee's work hours. Refer to the Work Schedule Substitution procedure for more information.
As the payroll processor, you will not process this action until you have received an appointment change information packet from the personnel administration processor indicating they have completed their portion of the action.
If the employee’s benefits eligibility is changing, this procedure may require hand-offs to the benefits processor depending on the structure of your agency and your role at your agency. Refer to the Appointment Change Action (BN) – Transfer Same Agency procedure for completing those portions of the action.
-
Step 1
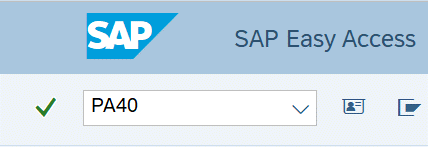
Enter transaction code PA40 in the command field and click the Enter button.
-
Step 2
Complete the following field:
- Personnel no.
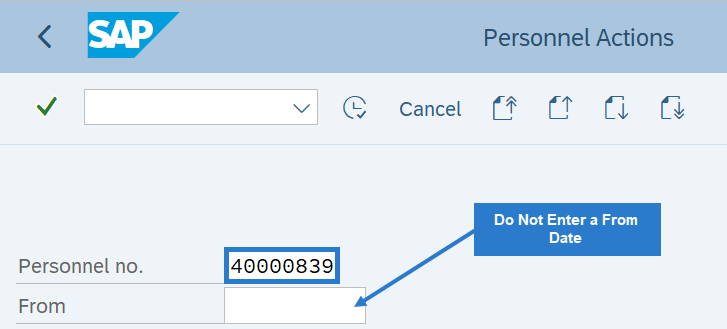 TIPS:
TIPS:Do not put a From date on the Personnel Actions screen.
-
Step 3
Click Enter to populate the employee information.
-
Step 4
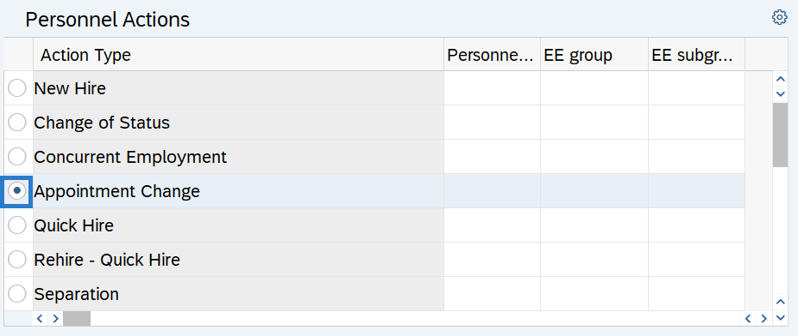
Select the Appointment Change radio button.
-
Step 5
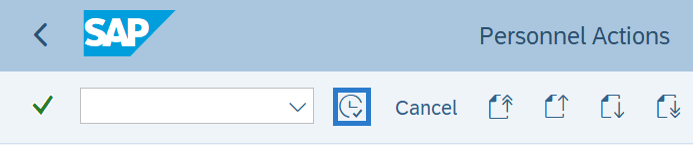
Click the Execute button to begin the transaction.
-
Step 6
Verify the Actions (0000) infotype contains the correct action you need to execute.
-
Step 7
Click the Execute info group button.

-
Step 8
Click Continue in the Execute info group dialog box.

-
Step 9
Click the Next Record button until you reach the Add. Withh. Info. US (0234) infotype.
-
Step 10
Complete the following field:
The following field is mandatory:
- Empl. override group
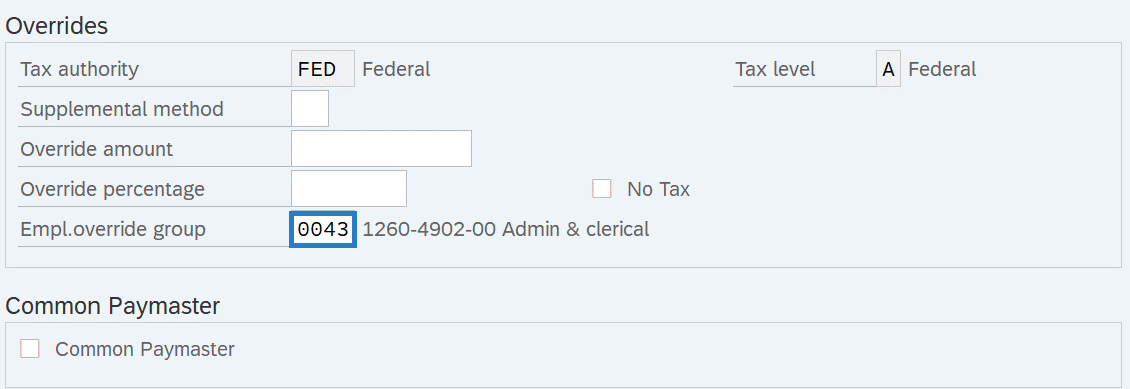 TIPS:
TIPS:Empl. override group (Employee Override Group) is the Washington Workers' Compensation risk classification that an employee holds for a particular job.
The Employee Override Group must match your agency Business Area. For this example, the employee has been hired into Business Area 1790 - Department of Enterprise Services.
If the numbers do not match, it will cause incorrect Medical Aid amounts to be withheld from the employee. Additionally, employer costs will be incorrect.
If the employee's Employee Override Group has not changed, click the Next Record button and skip to Step 13.
-
Step 11
Click the Enter button to validate the information.
-
Step 12
Click the Save button.
Stop:This marks the end of the Appointment Change action using PA40. The remaining steps in this procedure will direct you to make additional updates if necessary.
-
Step 13
If there are changes to the employee's union dues, parking deductions, allowances, etc., follow the Recurring Payments/Deductions procedures to create, copy, or change the employee's Recurring Payments/Deductions (0014) infotype record(s).
-
Step 14
If there are changes to the employee's cost distribution override, follow the Employee Cost Distribution procedures to create, copy, or change the employee's Cost Distribution (0027) infotype record.
-
Step 15
If there are changes to the employee's work county, update the employee's Worksite on the Unemployment State (0209) infotype. Refer to the Unemployment State - Copy and Update Record procedure.
-
Step 16
If the employee is changing representation status and now newly eligible or no longer eligible for a Personal Leave Day, ensure their Date Specifications (0041) infotype record was updated and remove or add the quota balance. Refer to the Quota - Removing Accrued Leave or Generate Quota Accrual Manually procedures as necessary.
Stop:For the payroll processor, this will mark the end of the Appointment Change Action (PY) – Transfer Same Agency action. After saving, click the Exit button and transfer the appointment change information packet to the benefits processor who will continue the action if applicable. The benefits processor should refer to the Appointment Change Action (BN) - Transfer Same Agency procedure to complete their portion of the action if necessary.