Communication - Change Existing Record
Use this procedure to make a correction to an employee’s existing Communication (0105) infotype record.
-
Step 1
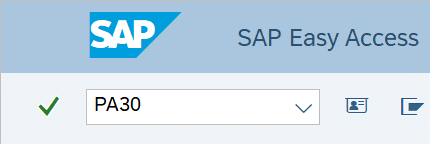
Enter transaction code PA30 in the command field and click the Enter button.

-
Step 2
Complete the following fields:
- Personnel no.

-
Step 3
Click the Enter button to populate the employee information.
-
Step 4
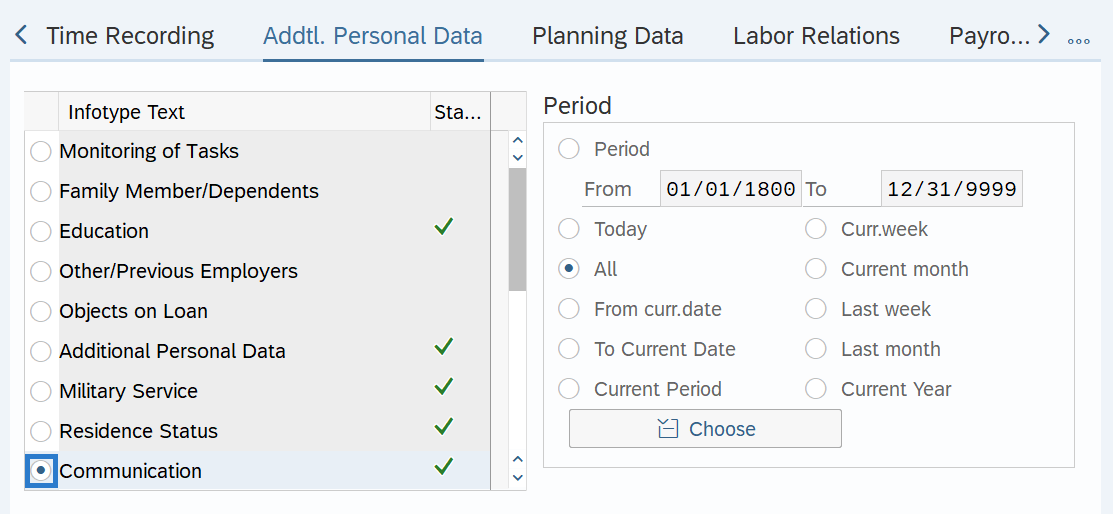
On the Addtl. Personal Data tab, select the Communication radio button.

-
Step 5
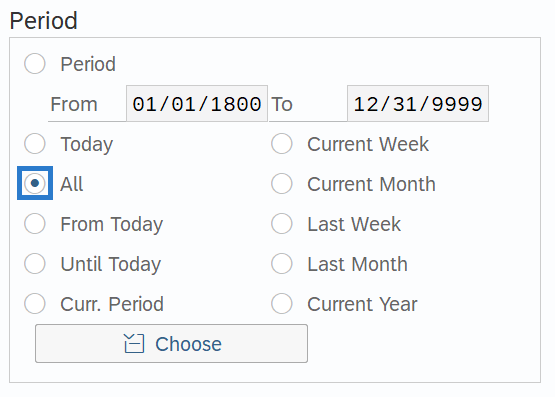
In the Time period section, select All.

-
Step 6
Click the Overview button.
-
Step 7
Select the record you wish to change.
 TIPS:
TIPS:WD Financials Phase 1a Conversion (WD1A) identifies employees whose job duties require a Workday account within OneWA Phase 1a – Core Financials. Refer to one.wa.gov for more information about the OneWA program.
-
Step 8
Click the Change button.
TIPS:Using the Change button overwrites the existing record, and should only be used when making corrections.
-
Step 9
Verify the Start and To dates.
 TIPS:
TIPS:In most cases, the start and to dates should remain the same. Changing the start or to dates will delete the record being updated.
-
Step 10
Correct the following field:
- System ID
 TIPS:
TIPS:For E-mail (0010) records, enter the employee’s email address in the System ID field.
If you are a MyPortal agency, it is highly recommended to use an employee’s work email address. This email address is used for password resets and the leave request notification process.
For WD Financials Phase 1a Conversion (WD1A) records, enter the employee’s 8-digit personnel number in the System ID field. The WD Financials Phase 1a Conversion (WD1A) record will be automatically delimited during a separation action and should be delimited if an employee’s job duties change and they no longer need access to Workday.
-
Step 11
Click the Enter button to validate the information.
-
Step 12
Click the Save button.
