Objects on Loan - Change Existing Record
Use this procedure to change an existing Objects on Loan (0040) infotype record, such as ending a record that is no longer valid, adding additional comments, or making a correction.
-
Step 1
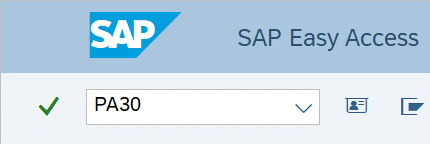
Enter transaction code PA30 in the command field and click the Enter button.
-
Step 2
Complete the following fields:
- Personnel no.

-
Step 3
Click Enter to populate the employee information.
-
Step 4
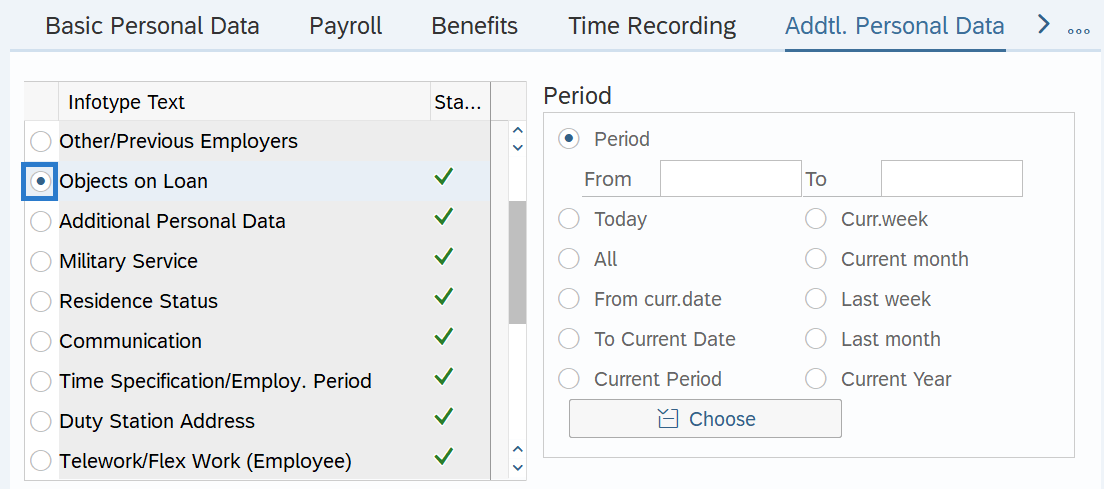
On the Addtl. Personal Data tab, select the Objects on Loan radio button.
-
Step 5
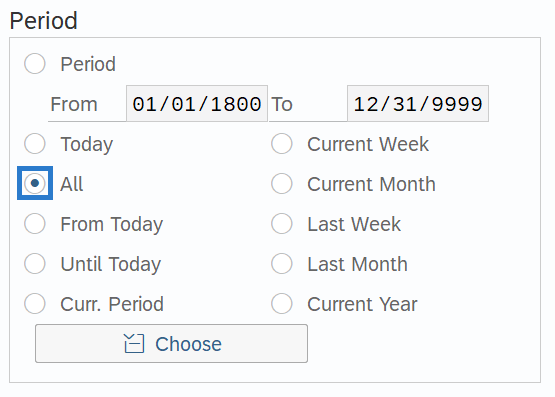
In the Time period section, select All.
-
Step 6
Click the Overview button.
-
Step 7
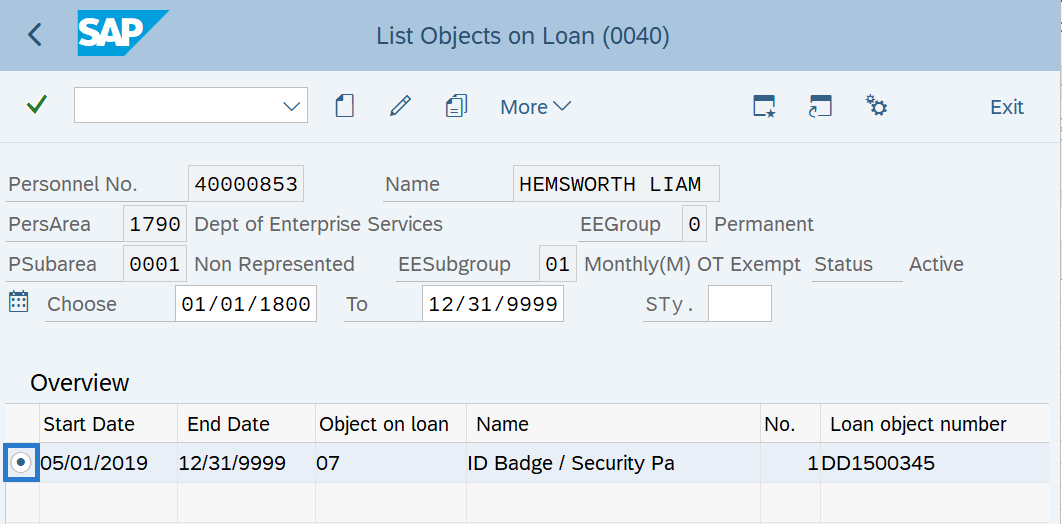
Select the record to be changed.
-
Step 8
Click the Change button.
-
Step 9
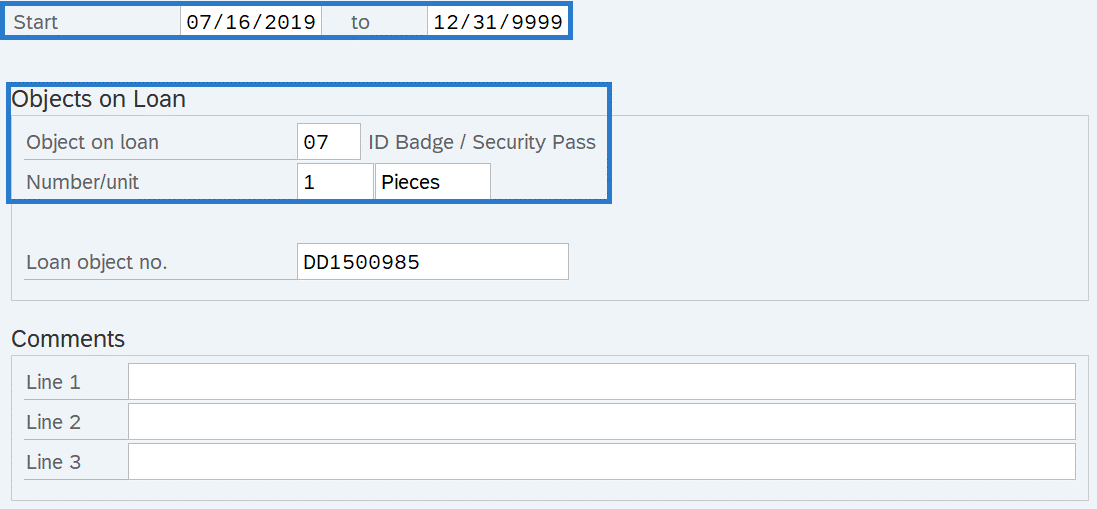
Complete necessary changes to the following fields:
- Object on loan
- Number/unit
- Loan object no.
- Comments
 TIPS:
TIPS:The Object on loan field is the state owned asset that has been loaned to the employee.
The Number/unit fields can be used to track the number of items on loan.
The Loan object no. field can be used to track the serial number or agency assigned inventory number.
The Comments fields can be used to document additional information, an observation or statement. If this section is populated, the Maintain Text button will display. When viewing the Infotype Message, it will display the same information that is in the comments section of the infotype.
If the object on loan record is no longer valid, end the record by changing the To date to the last day the record should be active.
-
Step 10
Click the Enter button to validate the information.
-
Step 11
Click the Save button.
