Communication - Create New Record
Use this procedure to create a new Communication (0105) infotype record for an employee. Creating a new record is necessary when the employee does not have an active infotype record or when the employee has an existing infotype record but you do not want to copy over the existing data fields.
-
Step 1
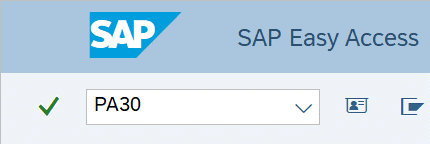
Enter transaction code PA30 in the command field and click the Enter button.

-
Step 2
Complete the following fields:
- Personnel no.

-
Step 3
Click the Enter button to populate the employee information.
-
Step 4
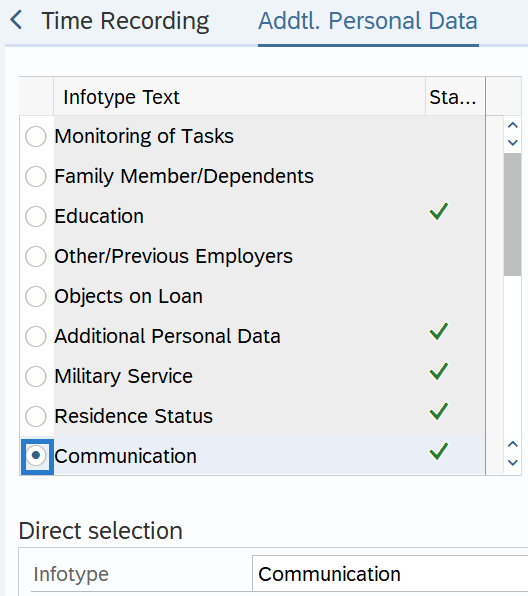
On the Addtl. Personal Data tab, select the Communication radio button.

-
Step 5
Click the Create button.
-
Step 6
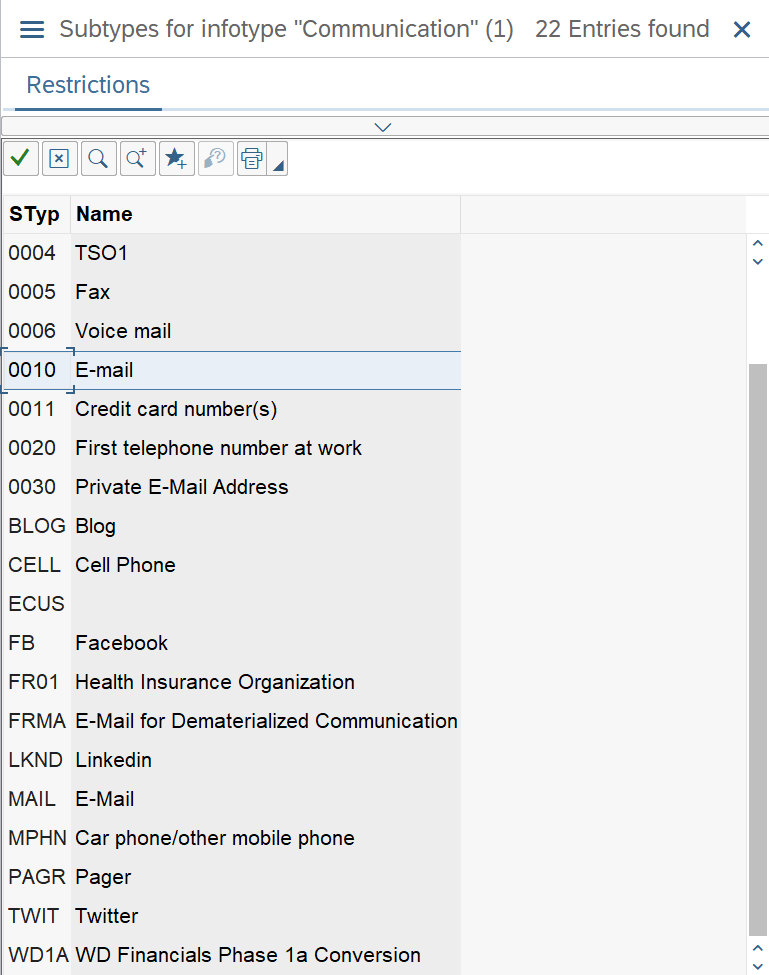
Select the appropriate Subtype and click the Copy button.
 TIPS:
TIPS:E-mail (0010) should be used to record an employee’s email.
WD Financials Phase 1a Conversion (WD1A) should be used to identify employees whose job duties require a Workday account within OneWA Phase 1a – Core Financials. Refer to one.wa.gov for more information about the OneWA program.
-
Step 7
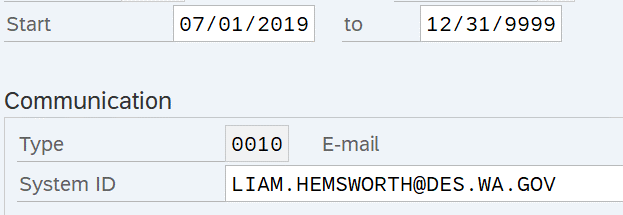
Complete the following fields:
- Start
- System ID
 TIPS:
TIPS:For E-mail (0010) records, enter the employee’s email address in the System ID field.
If you are a MyPortal agency, it is highly recommended to use an employee’s work email address. This email address is used for password resets and the leave request notification process.
For WD Financials Phase 1a Conversion (WD1A) records, enter the employee’s 8-digit personnel number in the System ID field.
The WD Financials Phase 1a Conversion (WD1A) record will be automatically delimited during a separation action and should be delimited if an employee’s job duties change and they no longer need access to Workday. Refer to Communication – Change Existing Record to delimit an employee’s WD1A record.
The WD Financials Phase 1a Conversion (WD1A) record will be automatically delimited during a separation action and should be delimited if an employee’s job duties change and they no longer need access to Workday. Refer to Communication – Change Existing Record to delimit an employee’s WD1A record.
-
Step 8
Click the Enter button to validate the information.
-
Step 9
Click the Save button.
