Additional Payments - Create One-Time Payment or Deduction
Use this procedure to create a one-time payment or deduction on the Additional Payments (0015) infotype for an employee.
If the employee requires a monthly deduction, use the Recurring Payments/Deductions (0014) infotype.
The Wage Type Report (ZHR_RPTPY004) provides information about wage types, such as short text, permissibility, and amount. This report may be useful in identifying the correct wage type.
-
Step 1
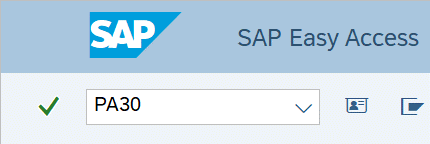
Enter transaction code PA30 in the command field and click the Enter button.

-
Step 2
Complete the following field:
- Personnel no.

-
Step 3
Click Enter to populate the employee information.
-
Step 4
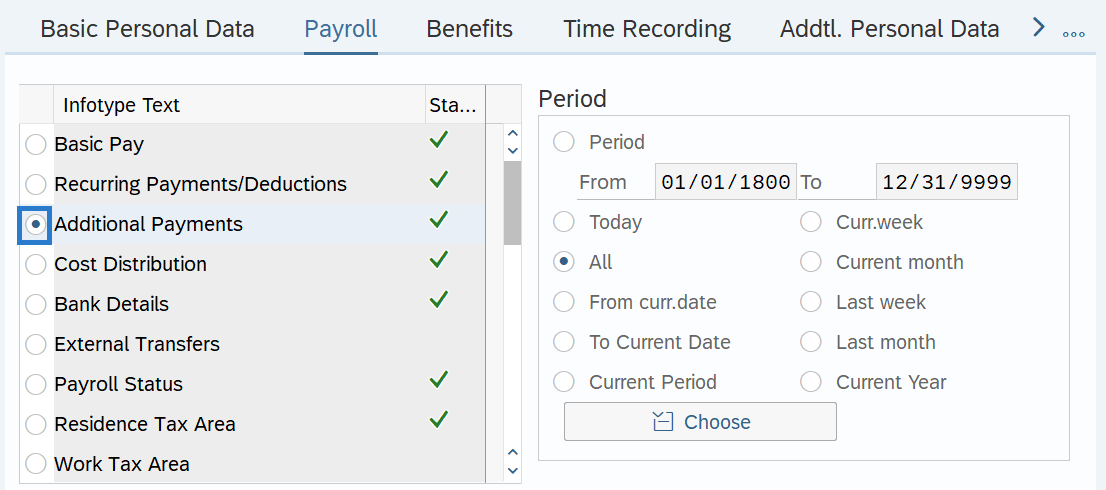
On the Payroll tab, select the Additional Payments radio button.

-
Step 5
Click the Create button.
-
Step 6
Complete the following fields:
The following fields are mandatory:
- Wage Type
- Date of Origin
The following fields are conditional:
- Amount
- Assignment Number
 TIPS:
TIPS:The Date of Origin can be any day within the pay period.
If you are uncertain of the Wage Type number, use the match code. Depending on the wage type selected for the additional payment or deduction, the amount may automatically populate.
If the Wage Type selected requires an amount and you have not created an entry in the Amount field, you will receive the following error:

Enter Amount and click Enter to correct.
If the Wage Type selected has a standard Amount/Rate/Max and cannot be changed, you will receive the following error:

Remove Amount and click Enter to correct.
Not all Wage Types will allow for retro activity. Run a Payroll Simulation to verify entries. If your correction is not visible in the Payroll Simulation, you will need to make adjustments in the current period. Refer to the Payroll Simulation report procedure.
For one-time lump sum payments, use the Assignment Number field to record the reason for the payment. Refer to the Incentives and Awards Coding Guide for more information on entering and reporting recognition awards or other lump sum payments in HRMS.
-
Step 7
Click the Enter button to validate the information.
-
Step 8
Click the Save button.
