Additional Personal Data - Change Existing Record
Use this procedure to make a correction to an employee’s ethnic origin, ethnicity, race, military, veteran, disability, LGBTQ+, military spouse, or Public Service Loan Forgiveness (PSLF) status on the Additional Personal Data (0077) infotype record.
-
Step 1
Enter transaction code PA30 in the command field and click the Enter button.
-
Step 2
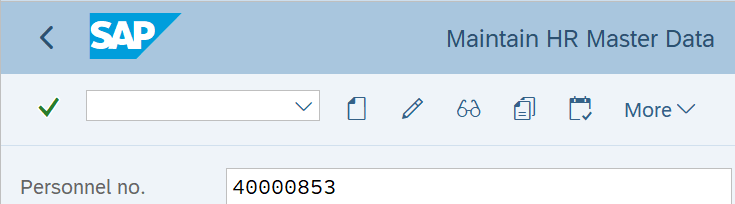
Complete the following field:
- Personnel no.
-
Step 3
Click Enter to populate the employee information.
-
Step 4
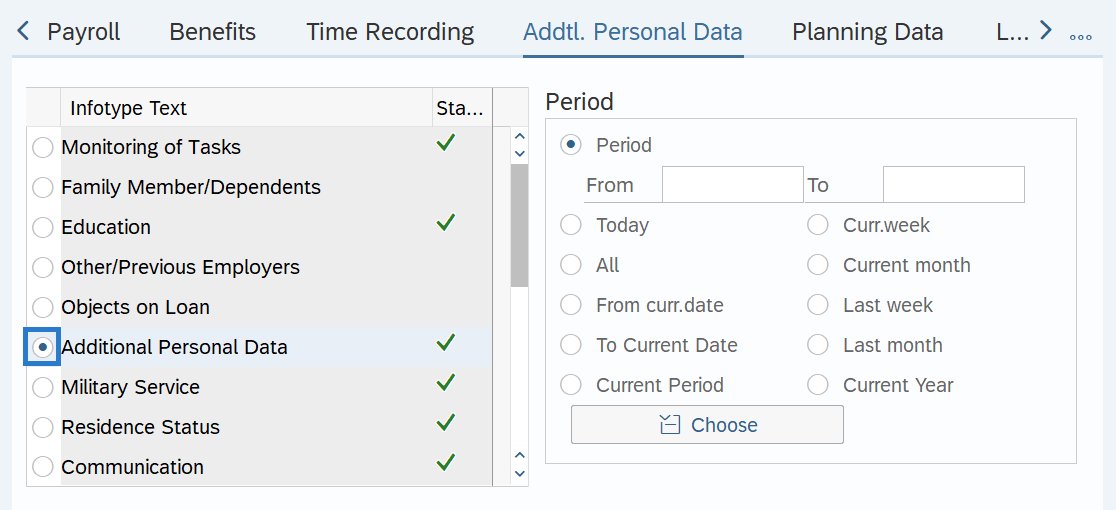
On the Addtl. Personal Data tab, select the Additional Personal Data radio button.
-
Step 5
In the Time period section, select All.

-
Step 6
Click the Overview button.
-
Step 7
Click the box to the left of the record you wish to correct.

-
Step 8
Click the Change button.
TIPS:Using the Change button overwrites the existing record and should only be used when making corrections.
-
Step 9
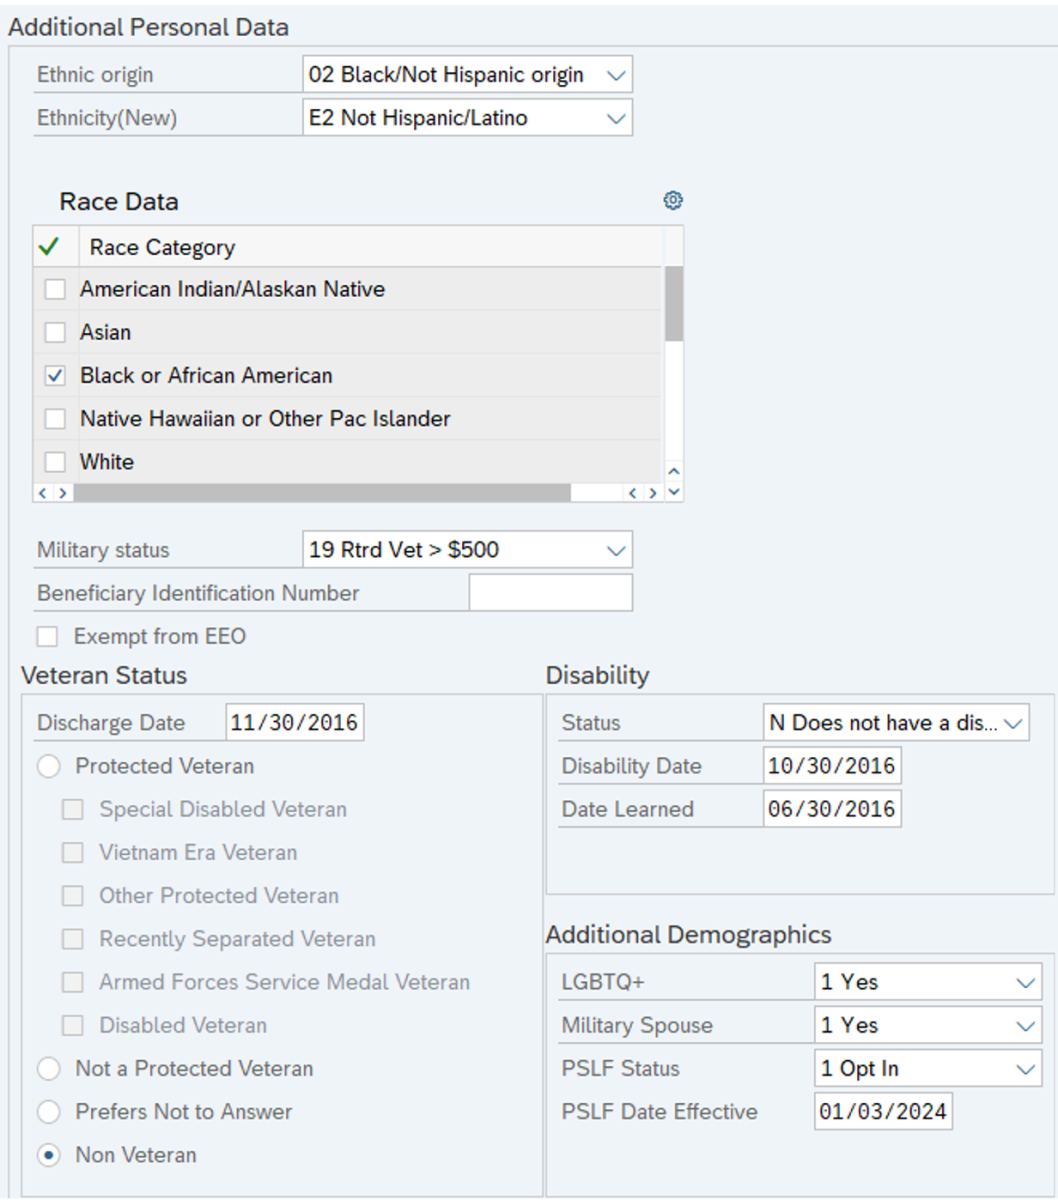
Enter the necessary changes to the record.
 TIPS:
TIPS:In most cases, the Start and To dates should not be changed. Changing the Start or To dates will delete the record being updated. The system will not allow you to delimit the Additional Personal Data (0077) infotype record. Entering anything except 12/31/9999 in the To date will result in an error.
Ethnic origin is the primary source of data for “persons of color” headcount in enterprise reports. Use the Ethnic Origin Crosswalk in the Affirmative Action and Demographic Data Guide to make the correct selection based on the employee’s ethnicity and race.
The Race and Ethnicity(New) fields are used in federal reporting on the EEO-4 report. If the Ethnicity(New) field is set to Not Hispanic/Latino (E2), then one or more Race checkboxes must be selected or the employee will not be counted in the male/female by race columns on the EEO-4 report.
When Ethnic origin and Ethnicity(New) fields are both populated, HRMS displays a warning message “Ethnicity (New) field maintained thus Ethnic Origin field is disregarded.” This message is referring to the Ethnic origin field being disregarded on the EEO-4 report. Ensure the appropriate selections are made in all fields for the employee to be reported accurately.
In the Race Data group, click the checkbox to the left of the appropriate Race Category to select. If multiple races are selected, the system will prompt you to also check the Two or More Races box. Do not check Two or More Races by itself.
To enable the Protected Veterans selection boxes, select the Protected Veterans radio button and click enter.
The option (X) Has a Disability (or previously had one) should only be used for employees with a current disability. Do not use this option for employees who previously had a disability since they no longer meet the definition; use (N) Does not Have a Disability.
Disability Date is not used by the state of Washington; however, HRMS requires an entry if the Disability Status is set to Has a disability (or previously had one) (X). If you know the employee's disability date, you can enter that date; otherwise, enter the date you learned of the disability (same date as the Date Learned field).
Military Spouse includes registered domestic partners.
LGBTQ+ and Military Spouse fields will default to Unspecified. Enter the appropriate selection for the employee.
The PSLF Status will default to Unspecified. Enter the appropriate selection for the employee.
The PSLF Date Effective should reflect the date an employee’s PSLF opt in or opt out status is effective, or the date the employee’s employment was last certified.For additional coding information in the Create Additional Personal Data (0077) infotype, refer to the Affirmative Action and Demographic Data Guide.
-
Step 10
Click the Enter button to validate the information.
-
Step 11
Click the Save button.
TIPS:If you have made an update to the employee’s Veteran Status - Discharge Date or Military Status, refer to the Military Service user procedures to create or correct Military Service.