Labor Relations - Create New Grievance Record
Use this procedure to create a new grievance record on the Labor Relations (9102) infotype. Creating a new record is necessary to track the process of a new grievance. Effective March 2021, grievance tracking in HRMS is no longer required by OFM State Human Resources. Agencies may still use the module for internal tracking and reporting.
Do not save your information until you have completed all necessary tabs in the Labor Relations (9102) infotype record. If you hit the Save button before completing the grievance record, the incomplete required fields will be grayed out and cannot be changed. You will need to click the Back button and start over.
A group grievance is most easily input by attaching it to one person’s record. It’s recommended that you attach the grievance to the primary grievant.
-
Step 1
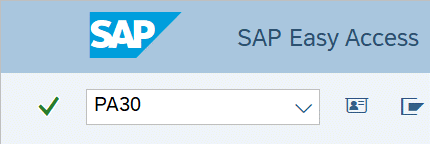
Enter transaction code PA30 in the command field and click the Enter button.
-
Step 2
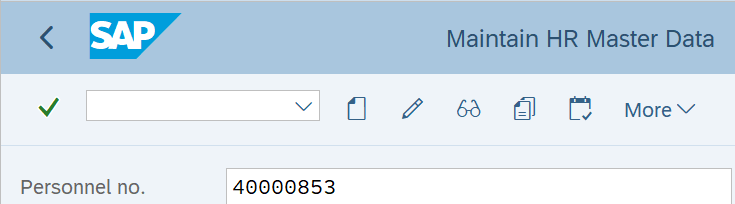
Complete the following field:
- Personnel no.
-
Step 3
Click Enter to populate the employee information.
-
Step 4
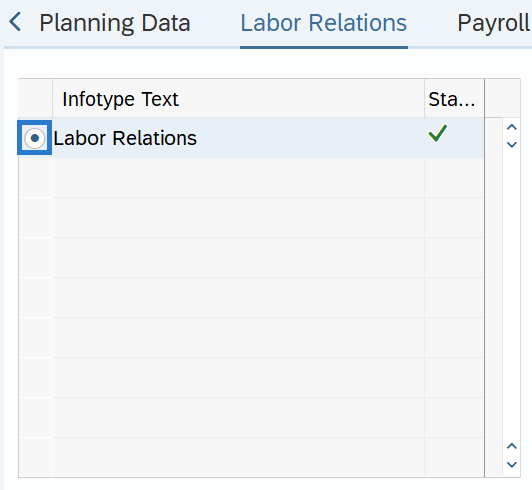
On the Labor Relations tab, select the Labor Relations radio button.
 TIPS:
TIPS:You may need to scroll to the right to select the tab.
-
Step 5
Click the Create button.
-
Step 6
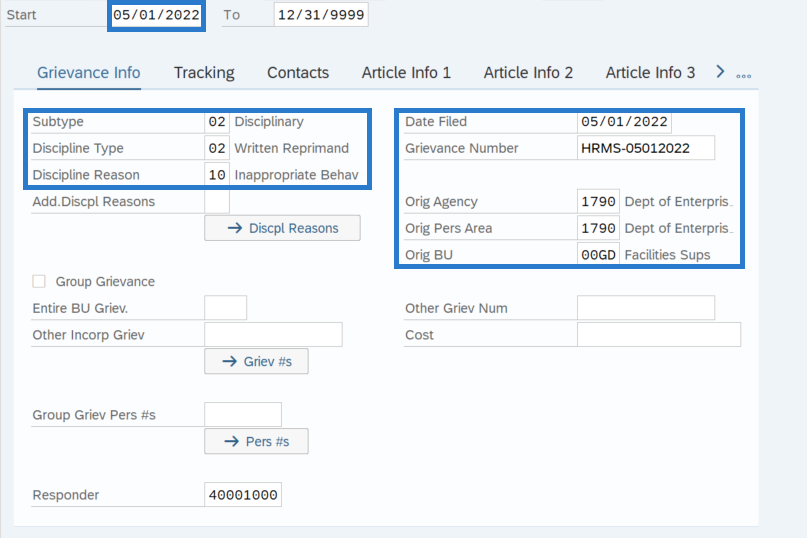
Complete the Grievance Info tab.
The following fields are mandatory:
- Start
- Subtype
- Date Filed
- Discipline Type (if applicable)
- Union Issued Grievance Number
- Discipline Reason (if applicable)
- Orig Agency
- Orig Pers Area
- Orig BU
The remaining fields are optional:
- Responder
- Group Grievance
- Entire BU Griev
- Group Griev Pers #s
 TIPS:
TIPS:The Start Date and Date Filed fields should both reflect the date the grievance was filed.
Subtype: used to track the reason the grievant is filing the grievance. The following options are available:
- 01 - Issue - Filing a grievance because of an alleged violation or misinterpretation of the contract.
- 02 - Disciplinary - Filing a grievance on a disciplinary action that was taken against the grievant.
Discipline Type: indicates the level of disciplinary action being grieved.
Discipline Reason: describes the reasons for the disciplinary action and should reflect the primary reason.
Add.Discpl Reasons: may include up to 6 additional discipline reasons but only the primary reason will be used for tracking and reporting purposes. All required fields must be completed before the Discpl Reasons option can be opened.
Grievance Number: assigned by the union. If a grievance number is not assigned by the Union, enter the grievant’s last name and date of filing in this field. No two grievances should have the same number assigned.
Orig Agency: enter the Business Area code for the agency at which the grievant is employed at the time the grievance was filed.
Orig Pers Area: enter the Personnel Area code for the sub-agency at which the grievant is employed at the time the grievance was filed. Smaller agencies may not have Personnel Areas, so in that instance enter the Business Area code in this field.
Orig BU: enter the Personnel Subarea code representing the bargaining unit in which the grievant is a member at the time the grievance was filed.
If the Orig Agency field is entered first, HRMS should narrow down the options in the Orig BU field to only the bargaining units available in your agency. If not, be sure to select the correct bargaining unit that corresponds with the correct personnel area.
Other Griev Num: this field is manually entered by OFM Labor Relations to track the assigned arbitration number if the grievance moves to arbitration.
Responder: the individual responsible for responding to this step of the grievance.
Cost: Do not use this field.
The Group Grievance section is completed for the following scenarios:
- A group of employees file a grievance.
- A grievance is filed on behalf of an entire bargaining unit.
- A single employee files multiple grievances which are later consolidated.
- Multiple employees file similar grievances which are later consolidated.
When the Group Grievance box is selected, you may only enter one additional Personnel Number into the Group Grievance Pers #s field. You will enter any remaining Personnel Numbers after completing the Article Info 1 tab Step 12.
-
Step 7
Click the Enter button to validate the information.
TIPS:The system will automatically move you to the Tracking tab.
-
Step 8
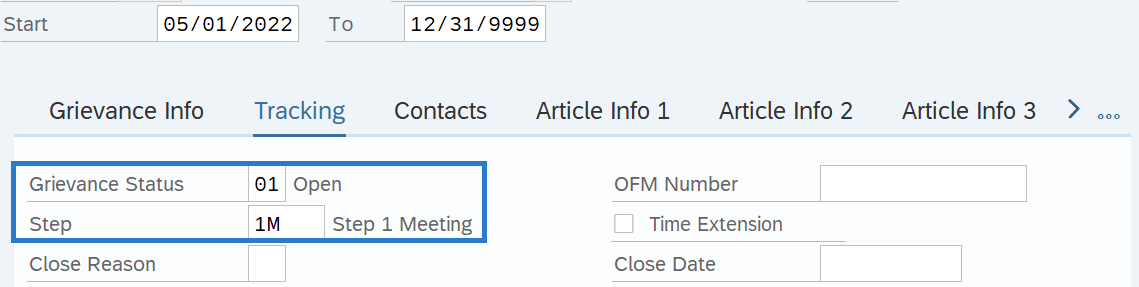
Complete the Tracking tab.
The following fields are mandatory:
- Grievance Status
- Step
 TIPS:
TIPS:For a new grievance, the Grievance Status field should be set to Open.
As the grievance moves through the process, refer to the Labor Relations – Copy and Update Grievance Record procedure to update the Grievance Status and Step fields.
-
Step 9
Click the Enter button to validate the information.
TIPS:The system will automatically move you to the Contacts tab.
-
Step 10
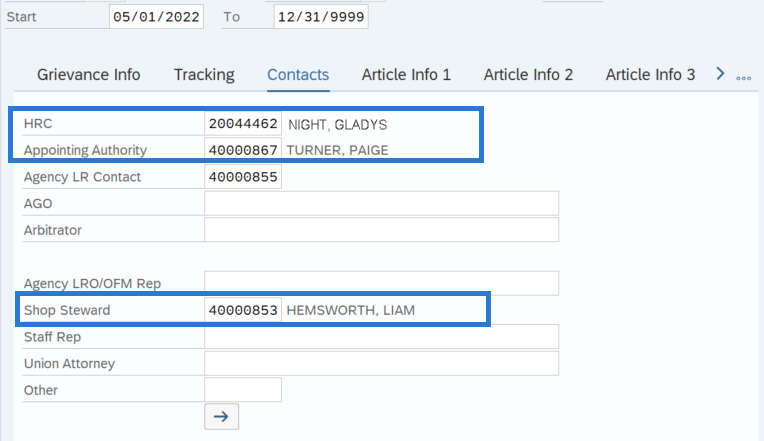
Complete the Contacts tab.
The following fields are mandatory:
- HRC
- Appointing Authority
- Shop Steward
The following fields are optional:
- Agency LR Contact
- AGO
- Arbitrator
- Agency LRO/OFM Rep
- Staff Rep
- Union Attorney
- Other
 TIPS:
TIPS:HRC: enter the human resource staff person assigned to the grievance.
Appointing Authority: enter the appointing authority in the chain of command for the grievant if disciplinary, or the person who would respond if an issue is being grieved.
Shop Steward: enter the primary union shop steward for the bargaining unit. If the name is missing from the list, contact labor.relations@ofm.wa.gov to request that it be added.
Staff Rep: if WFSE, choose the assigned WFSE Labor Advocate.
-
Step 11
Click the Enter button to validate the information.
TIPS:The system will automatically move you to the Article Info 1 tab.
-
Step 12
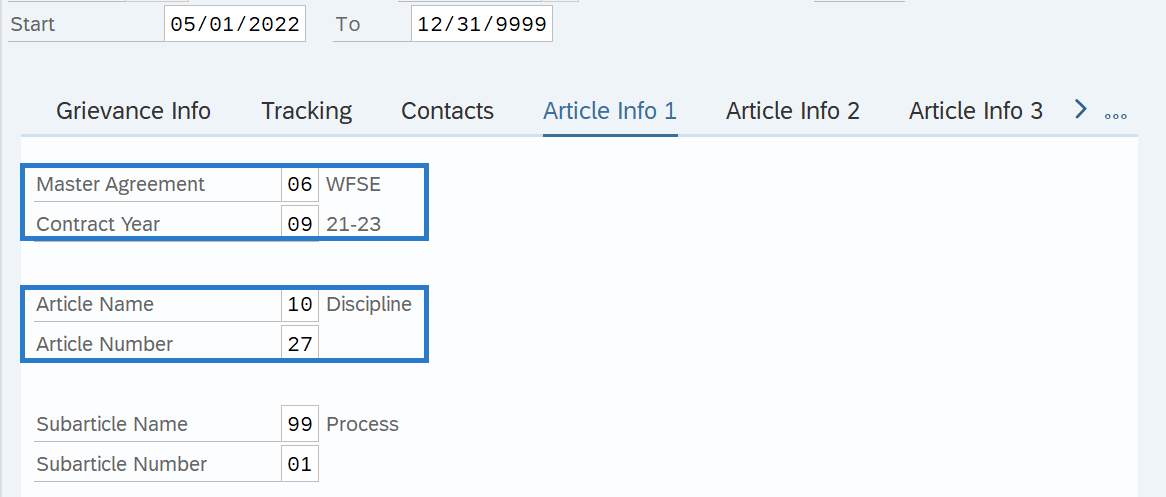
Complete the Article Info 1 tab.
The following fields are mandatory:
- Master Agreement
- Contract Year
- Article Name
- Article Number
The following fields are Optional:
- Subarticle Name
- Subarticle Number
 TIPS:
TIPS:Master Agreement: enter the Master Agreement under which the grievance is filed.
Contract Year: enter the contract period the grievance is filed under.
Article Name: use the matchcode to select the primary article being grieved. Please be aware that the system code associated with the Article Name and displayed in this field is not the same as the Article Numbers within your Master Agreement. (e.g. WFSE CBA Article 6, Hours of Work). See Article Number field for the actual Master Agreement article number.
Article Number: enter the actual article number from the Master Agreement. For consistency, please use a preceding zero for single digit article numbers.
Subarticle Name: use the matchcode to select the sub-article being grieved. Please be aware that the system code associated with the Subarticle Name and displayed in this field is not the same as the Subarticle Numbers within your Master Agreement. (e.g WFSE CBA subarticle 6.7, Overtime Eligible Rest Periods). See Subarticle Number field for the actual Master Agreement subarticle number.
Subarticle Number: enter the actual subarticle number from the Master Agreement.
-
Step 13
Click the Enter button to validate the information.
TIPS:If you selected Group Grievances in Step 6, you will receive a pop-up box requesting the remaining additional Group Grievance Personnel Numbers:
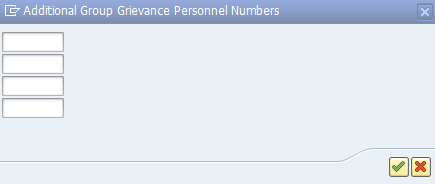
Enter all additional group grievance personnel numbers and click the Enter button.
-
Step 14
Complete up to five Article Info tabs for each Article that is identified in the grievance.
-
Step 15
Click the Enter button to validate the information.
-
Step 16
Click the Save button.