Labor Relations - Copy and Update Grievance Record
Use this procedure to copy an existing grievance record on the Labor Relations (9102) infotype. Copying a record is necessary to track the next step in the grievance process, when a status change occurs, the grievance has pended, or a time extension has been granted.
Copying a record in this infotype does not delimit the previous record. When copying grievance records, be sure to enter new Start and To dates. Assigning new dates to the copied records is the only way to preserve the history of the grievance.
Upon completing these steps, you will need to change the End Date of the record you just copied from 12/31/9999 to the appropriate date in the grievance process. Follow the Labor Relations - Change Existing Grievance Record procedure to change the End Date.
Do not save your information until you have completed all necessary tabs in the Labor Relations (9102) infotype record. If you hit the Save button before completing the grievance record, the incomplete required fields will be grayed out and cannot be changed. You will need to click the Back button and start over.
-
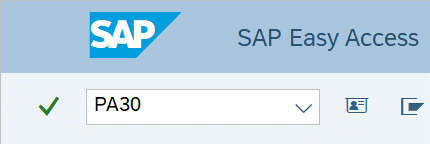
Step 1
Enter transaction code PA30 in the command field and click the Enter button.
-
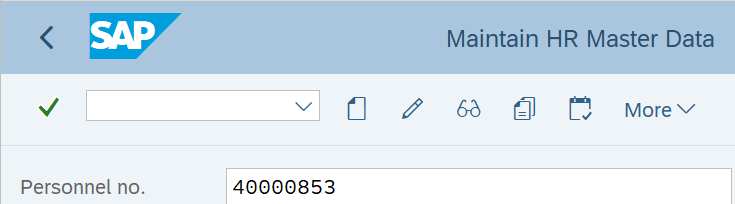
Step 2
Complete the following field:
- Personnel no.
-
Step 3
Click Enter to populate the employee information.
-
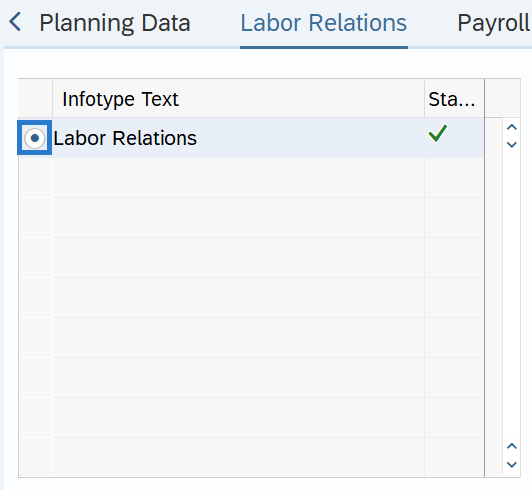
Step 4
On the Labor Relations tab, select the Labor Relations radio button.
-
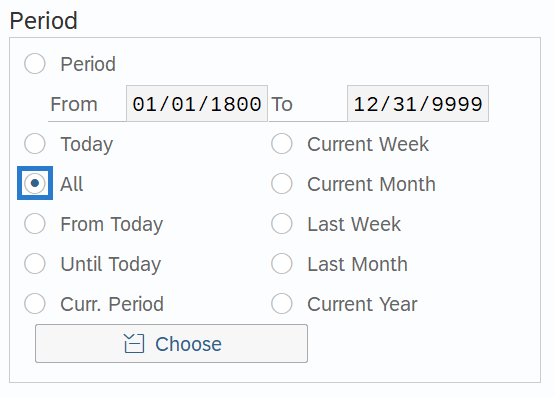
Step 5
In the Time period section, select All.
-
Step 6
Click the Overview button.
-
Step 7
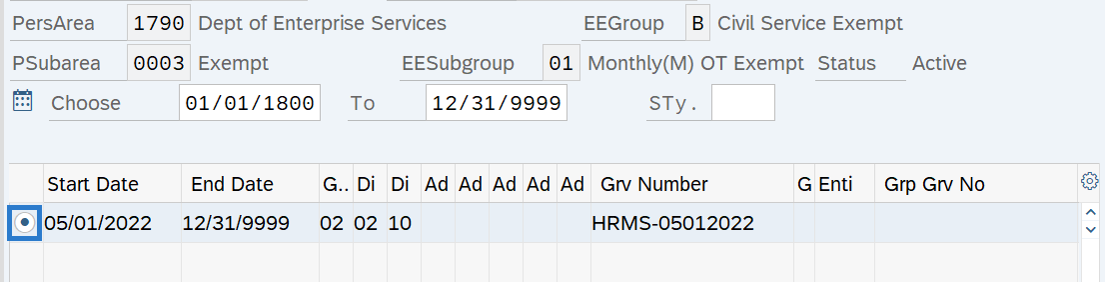
Select the record you wish to copy.
-
Step 8
Click the Copy button.
-
Step 9
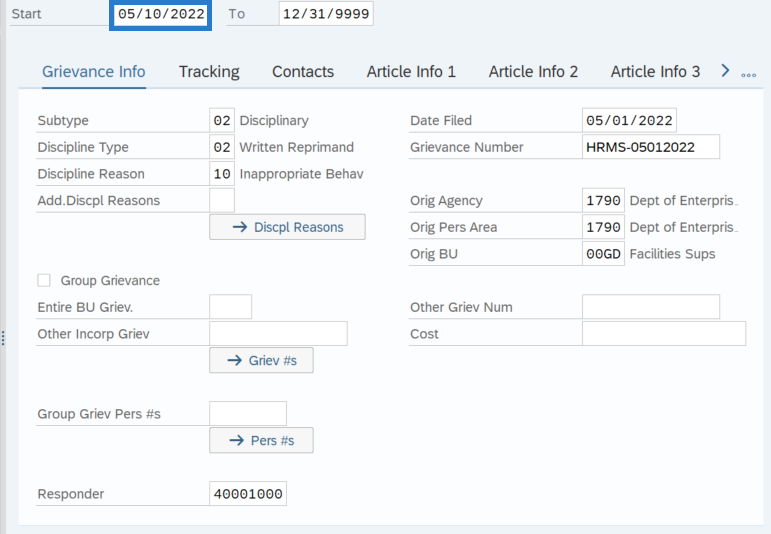
Complete the Grievance Info tab.
The following fields are mandatory:
- Start
 TIPS:
TIPS:Start Date should reflect the date the grievance elevated to the next step or the date the parties mutually agreed to either extend or pend the grievance.
Responder is the individual responsible for responding to this step of the grievance and may or may not need to be changed.
-
Step 10
Click the Enter button to validate the information.
-
Step 11
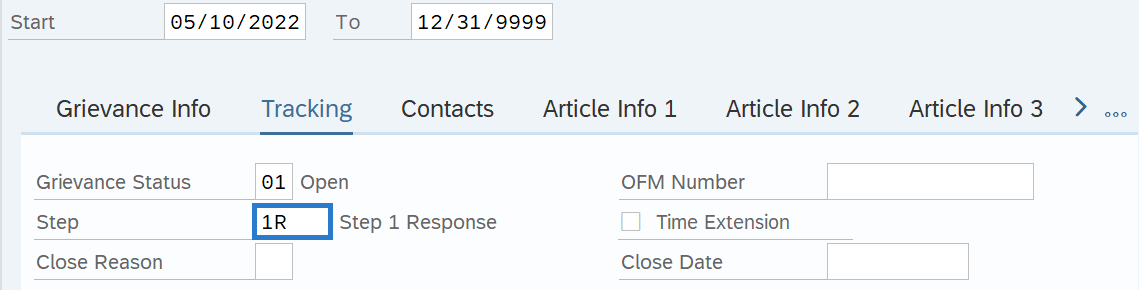
Click the Tracking Tab.
-
Step 12
Complete the following fields, depending on the reason for copying and updating the grievance record:
The following fields are mandatory when changing the grievance status:
- Step
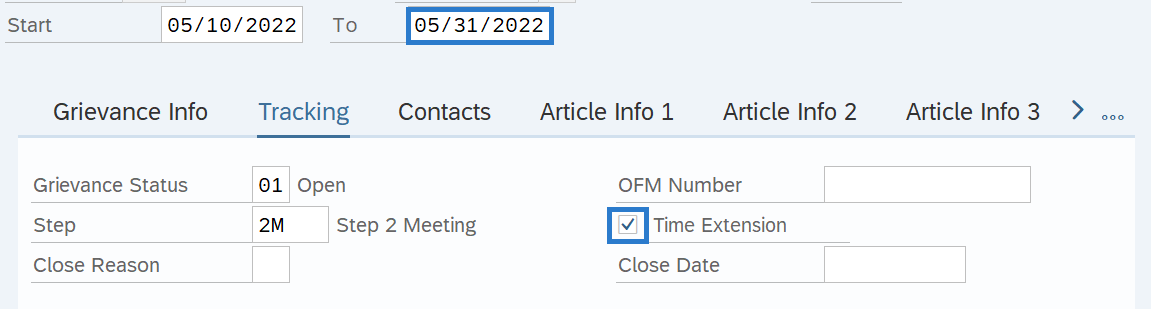
The following fields are mandatory when creating a time extension:
- To
- Time Extension box
The following fields are mandatory when placing a grievance in pending status:
- To
- Grievance Status
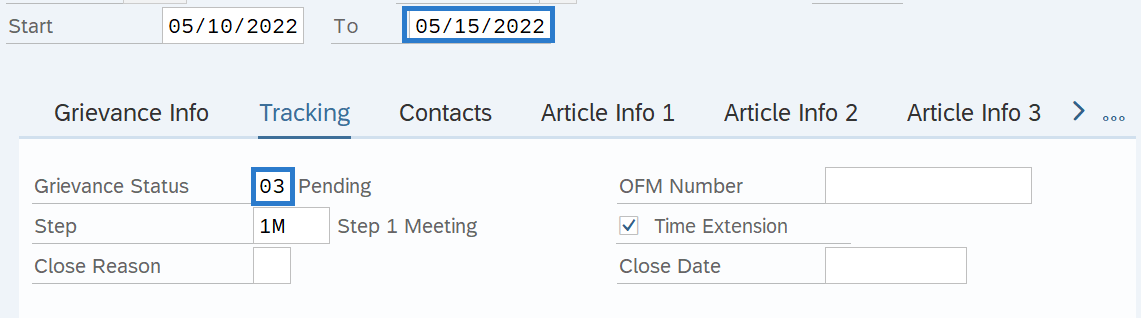 TIPS:
TIPS:The Step indicates the step of the grievance process and will change several times during the lifetime of the grievance.
The Time Extension box indicates if a time extension has been granted for the grievance. When a grievance is elevated to the next step following a time extension, the box should no longer be checked.
-
Step 13
Click the Enter button to validate the information.
-
Step 14
Click the other tabs to view and update any information that has changed.

-
Step 15
Click the Enter button to validate the information.
-
Step 16
Click the Save button.
Stop:After copying and updating a grievance record, be sure to go back to the record you copied and change the End Date. Refer to the Labor Relations – Change Existing Grievance Record procedure.