Earnings Statements - Select Earnings Statement
Use this report to view or print employee earnings statements for a current or prior pay period.
Earnings statements are not populated within HRMS until an employee has stored payroll results for the period. To check if an employee has stored payroll results, processors can run the Display Payroll Results report.
Employees can access earnings statements using the state of Washington’s employee self-service tool, MyPortal. Earnings statements within MyPortal are available for two rolling years for active employees. MyPortal accounts will remain active for 30 days after separation to allow employees to retrieve final earnings statements.
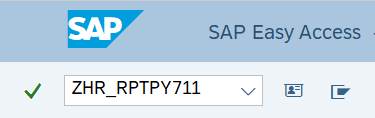
Enter transaction code ZHR_RPTPY711 in the command field and click the Enter button.
Complete the Period section.
The following fields are required:
- Payroll Area
- Pay Period
The following check box is optional:
- Use Current Period
 Tips:
Tips:The Period section will determine the time period of the employees and data that will display in the results.
The state of Washington only uses Payroll Area 11 – Semi-Monthly.
Checking the Use Current Period box will populate the Pay Period field with the current pay period.
Complete the Run Parameters section.
The following field will default but may be changed:
- Run Type
 Tips:
Tips:Run Type defaults to P (production). Other available Run Type selections are:
- S (creation of simulation documents)
- T (test run, no documents are created)
Run Type T is only available during payroll cutoff. Selecting Run Type T could result in a recalculation of the data based on retroactivity; report results may not clearly represent what was reported at the time of the original pay period.
If Payroll has not been stored for the period, the earnings statement will not be available if you select Run Type P.
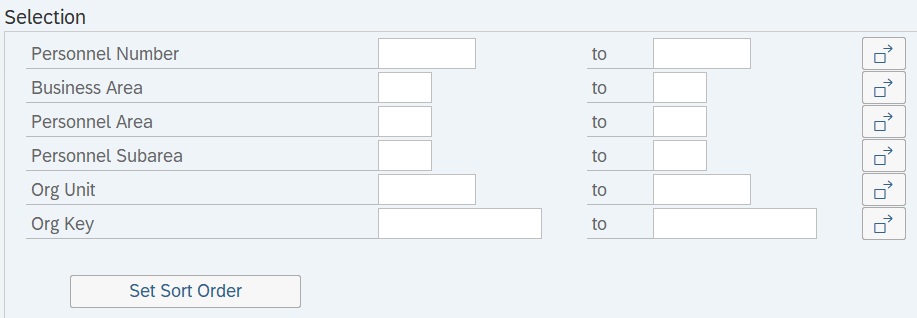
Complete the Selection section.
The following fields are optional:
- Personnel Number
- Business Area
- Personnel Area
- Personnel Subarea
- Org Unit
- Org Key
The following button is optional:
- Set Sort Order
 Tips:
Tips:The Selection Criteria section will assist in getting only the information needed. A selection is not required for each field.
Click the Set Sort Order button to change the order in which fields appear. Change the field order by renumbering the options from 1 through 6 and select Execute.
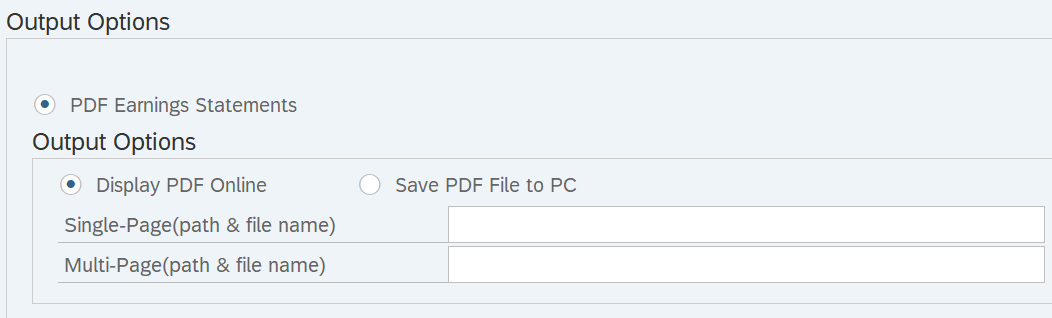
Complete the Output Options section.
To view or print earnings statements as PDFs, select the PDF Earning Statements radio button.
Select one of the following radio buttons:
- Display PDF Online
- Save PDF File to PC
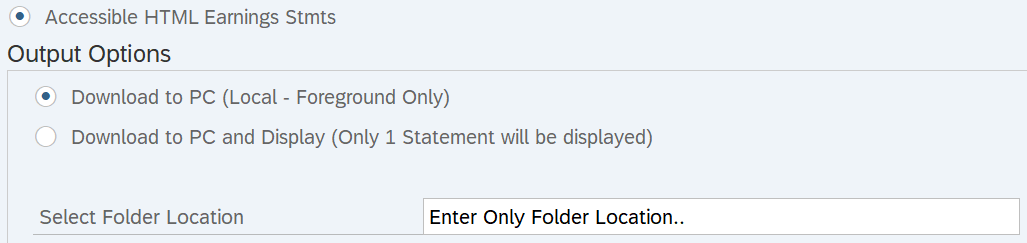
To view or print accessible HTML Earnings Statements, select Accessible HTML Earnings Stmts.
Select one of the following radio buttons:
- Download to PC (Local – Foreground Only)
- Download to PC and Display (Only 1 Statement will be displayed)
 Tips:
Tips:The Output Options section will determine the format of your earnings statements.
Select PDF Earnings Statements to view or save earning statements as a PDF. The following output options are available:
- Display PDF Online: Select this option to create a PDF for immediate viewing.
- Save PDF File to PC: Select this option to save a PDF file or files (depending on your selection criteria) to your PC.
- Single-Page (path & file name): Select this option to save a single PDF file to your computer. Enter the file path where you want to save the file or click Match Code to search for available file locations. The PDF will be saved as 711SINGLE.
- Multi-Page (path & file name): Enter the file path where you want to save multiple files to your computer. Click Match Code to search for available file locations. The PDFs will be saved as 711MULTI.
Select Accessible HTML Earnings Stmts to view earnings statements with accessibility programs. The following output options are available:
- Download to PC (Local – Foreground Only): Select this option to display multiple employees. A single HTML document will be created and saved for each personnel number.
- Download to PC and Display (Only 1 Statement will be displayed): Select this option to only display the last employee who was processed. The full list of employees will be saved by personnel number in separate HTML documents.
- Select Folder Location: Enter the file path where you want to save the file to your computer. Click Match Code to search for available locations. The HTML document for each employee will be saved in the following format: 711_4-digit personnel area_4-digit period year_2-digit period_8-digit Personnel Number. For example: 711_1790_2025_16_40000520.
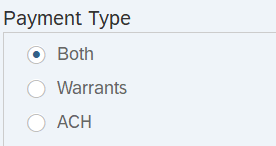
Complete the Payment Type section.
Select one of the following radio buttons:
- Both
- Warrants
- ACH
 Tips:
Tips:Select Both to view warrants and Direct Deposit as the payment types. Select Warrants to only view Warrants as the payment type. Select ACH to only view Direct Deposit as the payment type.
Click the Execute button.
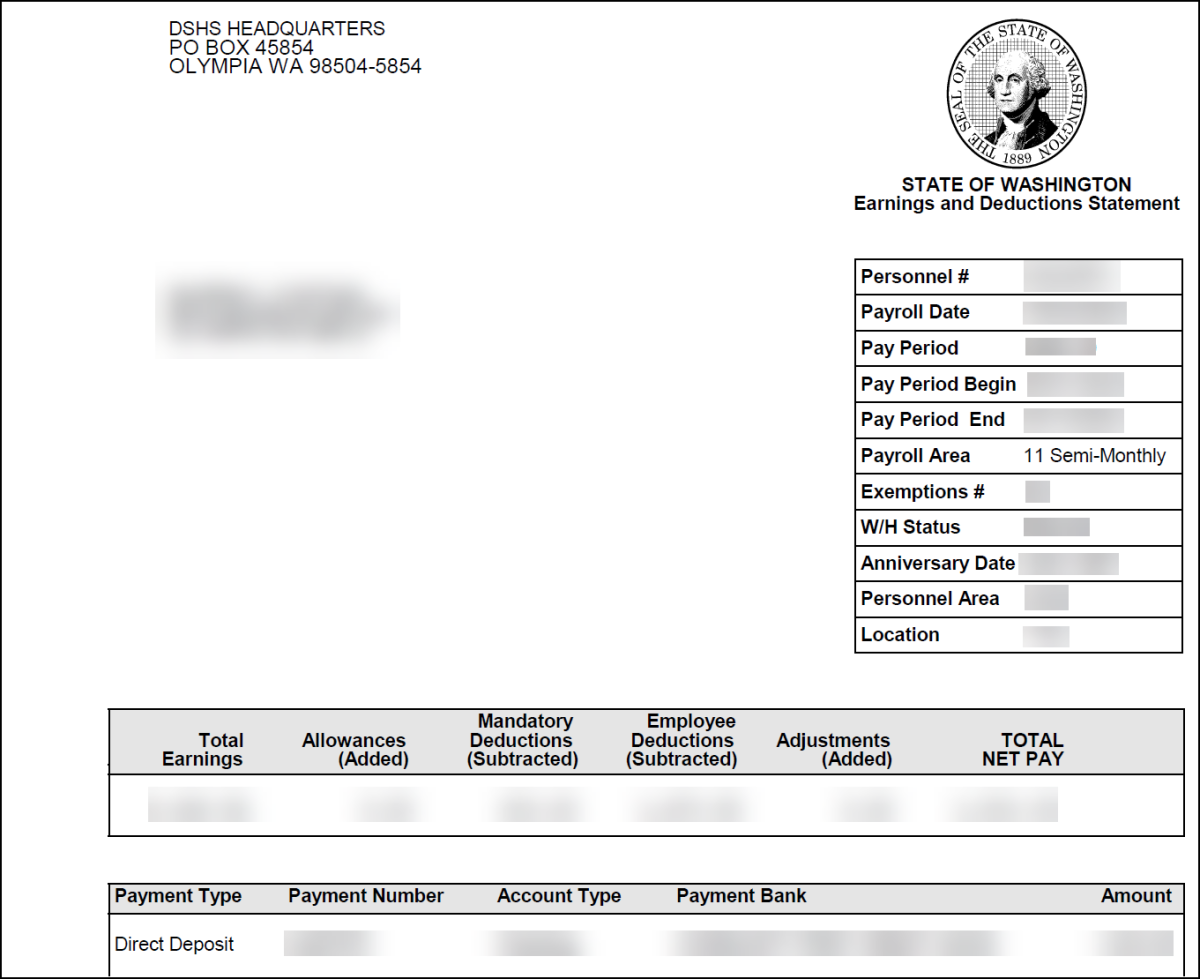
Sample report results: