Withholding Info W4/W5 US - Copy and Update Record
Use this procedure to copy an existing Withholding Info W4/W5 (0210) infotype record and update it with necessary changes. Using the Copy action will retain the history of the previous record.
In order to process payroll, employees must have an active federal Withholding Info W4/W5 US (0210) infotype record.
Please note per the Education Jobs and Medicare Assistance Act the W5 has not been used since 2010.
Tax overrides from Add. Withh. Info. US (0234) infotype will appear in Withholding Info W4/W5 US (0210) records. Federal, Idaho, and Oregon tax overrides cannot be maintained directly in Withholding Info W4/W5 US (0210). Refer to the Add. Withh. Info. US procedures.
You may only copy a Withholding Info W4/W5 US record with the same Subtype (STy: Fed, ID, OR). If there is no existing record with the same Subtype, use the Withholding Info W4/W5 – Create New Record user procedure to create a record with the correct Subtype.
-
Step 1
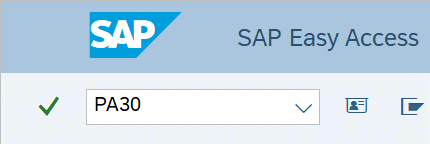
Enter transaction code PA30 in the command field and click the Enter button.
-
Step 2
Complete the following field:
- Personnel no.

-
Step 3
Click Enter to populate the employee information.
-
Step 4
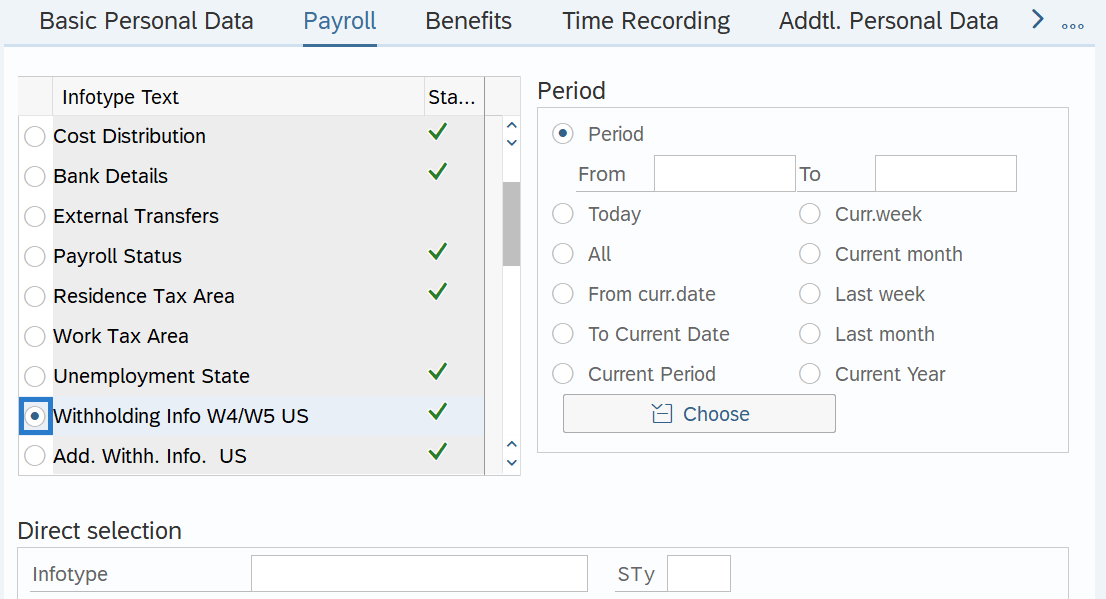
On the Payroll tab, select the Withholding Info W4/W5 US radio button.
-
Step 5
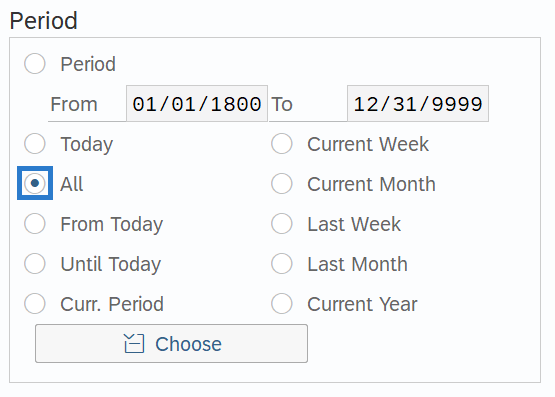
In the Time period section, select All.
-
Step 6
Click the Overview button.
-
Step 7
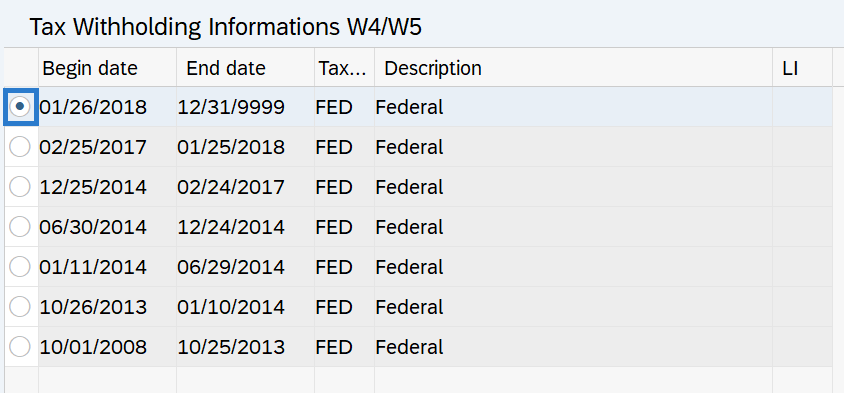
Select the record you wish to copy radio button.
-
Step 8
Click the Copy button.
-
Step 9
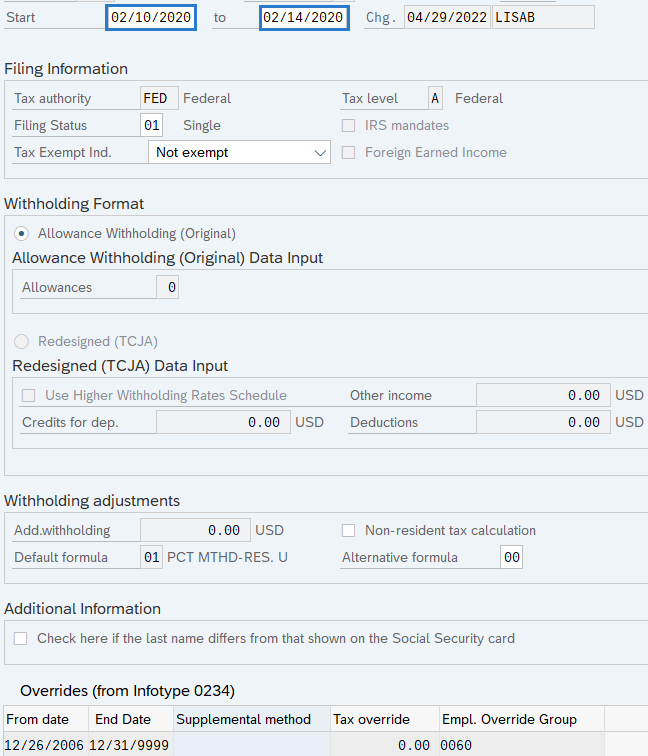
Enter the appropriate Start and To dates.
 TIPS:
TIPS:If copying a Federal record dated prior to 1/1/2020, you must click Enter two times to populate the new 2020 selections.
When using the Copy button, the Start and To dates will populate with the dates of the existing record. Be sure to enter the new Start and To dates to keep the history of the existing record.
The Start date should reflect the actual check date the elections are to begin. If you are uncertain of the check date, refer to the Payroll Calendar.
The To date should reflect the end date of the elections. For example:
- If you are creating an exemption and the exemption is ongoing, use 12/31/9999 as the end date.
- If the exemption is to end, use the day before the check date in which the exemption ends as the end date.
When making a retroactive change in accordance with the specific check date, use the day after the last check date. For example, if the change you are making affects the April 10th check date, enter a start date of March 26th.
HRMS will not retroactively collect taxes from an employee, but will refund an employee and correctly adjust the employer amounts (both collect or refund). Do not make retroactive changes across business areas or calendar years.
For this example, the employee’s exemption will be effective for one pay period only, therefore it is dated with a Start date of the check date for the period exempted and the To date of the day before the next check date.
-
Step 10
Enter the necessary changes to the record:
Select the corresponding Subtype guide for assistance:
TIPS:If the employee didn't provide an Oregon or Idaho form W-4, HRMS will withhold amounts based on their Federal Withholding Info W4/W5 US (0210) record. It is strongly recommended that employees submit an Oregon or Idaho form W-4 to ensure withholding amounts are correct.
-
Step 11
Click the Enter button to validate the information.
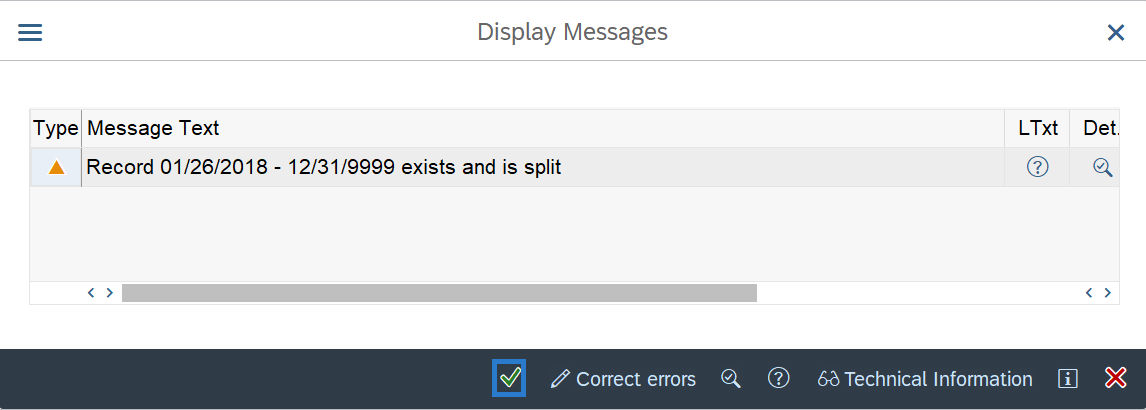
TIPS:Depending on the dates selected, you may receive a message indicating the previous record will be split or delimited. Click Continue to accept the message.
-
Step 12
Click the Save button.
