Change of Status Action
Use this procedure to update an employee’s status, such as:
- Completing or extending a probationary, trial service, transitional, or review period
- Changing an appointment from non-permanent to permanent
- Completing an in-training level or series
When entering a change of status action for an employee completing an in-training level or series, refer to the In-Training Appointments Coding Reference Guide.
If there is a change to the employee’s job, appointment date, or pay, then use the Appointment Change Action (PA) - In-Training Complete procedure instead.
This action does not normally require hand-offs to other roles.
Be sure to communicate with your payroll processor before entering a retroactive action.
-
Step 1
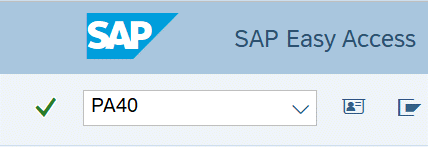
Enter transaction code PA40 in the command field and click the Enter button.
-
Step 2
Complete the following fields:
- Personnel no.
- From
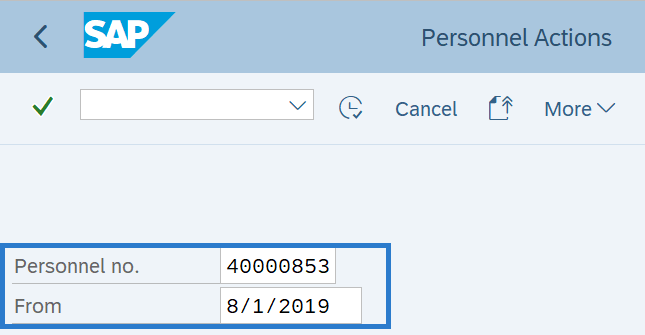 TIPS:
TIPS:The From date should be the effective date of the employee's change of status.
-
Step 3
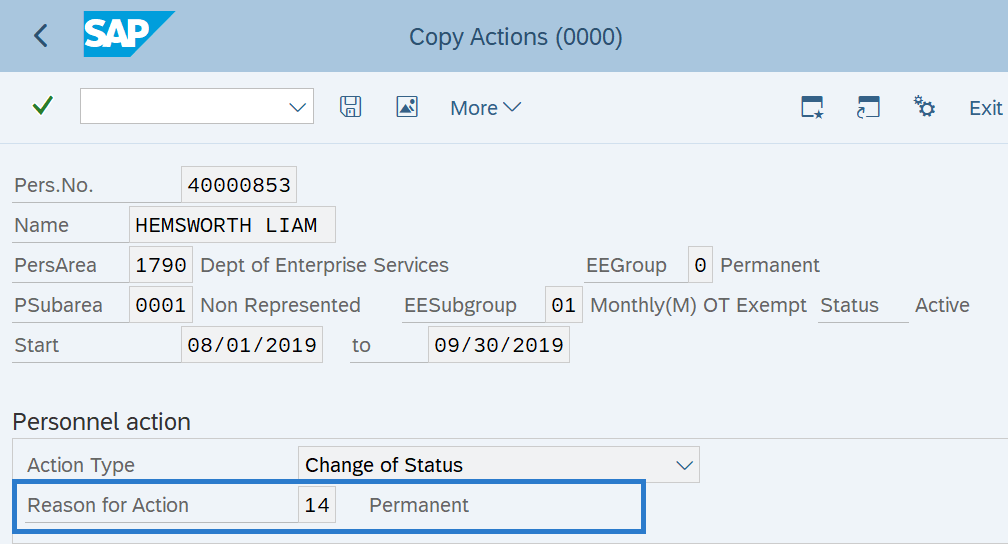
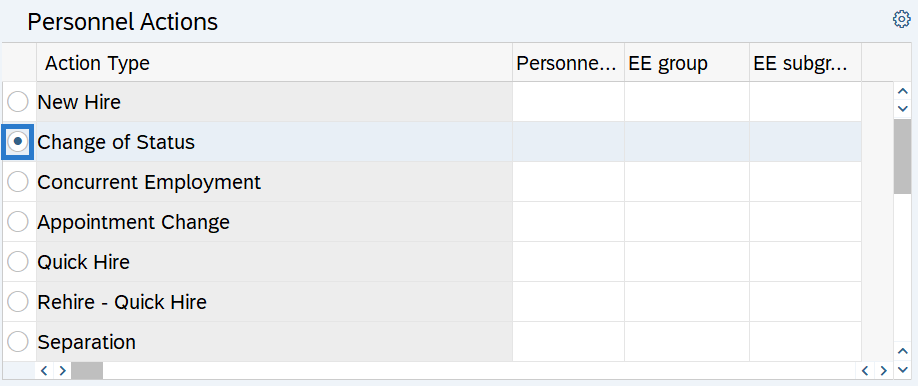
Under Personnel Actions, select the Change of Status radio button.
-
Step 4
Click the Enter button to populate the employee information.
-
Step 5
Click the Execute button to begin the transaction.
-
Step 6
-
Step 7
Click the Enter button to validate the information.
-
Step 8
Click the Save button.
-
Step 9
-
Step 10
Click the Enter button to validate the information.
-
Step 11
Click the Save button.
-
Step 12
Complete the Contract Elements (0016) infotype.
The following field is mandatory:
The following field is optional:
- Probationary Period

-
Step 13
Click the Enter button to validate the information.
-
Step 14
Click the Save button.
TIPS:If the Probationary Period field was left blank and the employee does not have any other Monitoring of Tasks records, the action is complete and you will be taken back to the Personnel Actions screen.
If you made an entry to the Probationary Period field or the employee has existing Monitoring of Tasks records, continue to Step 15.
-
Step 15
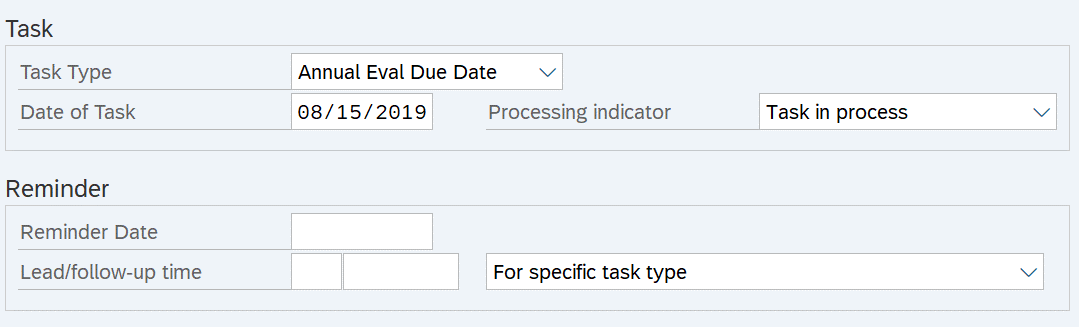
Complete the Monitoring of Tasks (0019) infotype.
The following fields are mandatory:
- Task Type
- Date of Task
- Processing Indicator
The following fields are optional:
- Reminder Date
- Lead/follow-up time
 TIPS:
TIPS:This step creates a new Monitoring of Tasks (0019) record and only one task can be created during this action. If additional tasks need to be created, refer to the Monitoring of Tasks - Create New Record procedure.
If an employee has existing Monitoring of Task (0019) infotype records, the tasks will appear in this action. If applicable, change the Processing indicator to Task completed. If the task does not apply to this change of status update, click the Next Record button to skip.
The Reminder Date field can be completed by one of the following:
- Enter a Reminder Date, or
- Enter the Lead/follow-up time. The Reminder Date field will populate based on what was entered in the Lead/follow-up time field, or
- Leave the Reminder Date and Lead/follow-up time blank. The Reminder Date field will populate with a date two months prior to the Date of Task.
Run the Task Monitoring Report (S_PH0_48000450) to get the reminder dates and task dates for the tasks entered on this infotype.
-
Step 16
Click the Enter button to validate the information.
-
Step 17
Click the Save button.
Stop:This marks the end of the Change of Status action.