Duty Station Address - Change Existing Record
Use this procedure to make a correction to or end an employee's existing Duty Station Address (9105) infotype record.
This infotype is only needed if the employee primarily conducts their work in a different location than their position’s official duty station.
The employee’s UFI address does not need to be updated for short duration or temporary changes if the employee is reasonably expected to return to their current location.
If you are maintaining the Duty Station Address infotype because the employee is working outside the state of Washington or returning to work in the state of Washington after working out of state, be sure to maintain their Out of State Work Location address record(s) as well. Refer to the Addresses user procedures.
-
Step 1
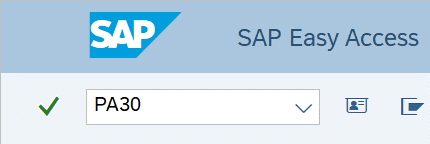
Enter transaction code PA30 in the command field and click the Enter button.

-
Step 2
Complete the following fields:
- Personnel no.

-
Step 3
Click Enter to populate the employee information.
-
Step 4
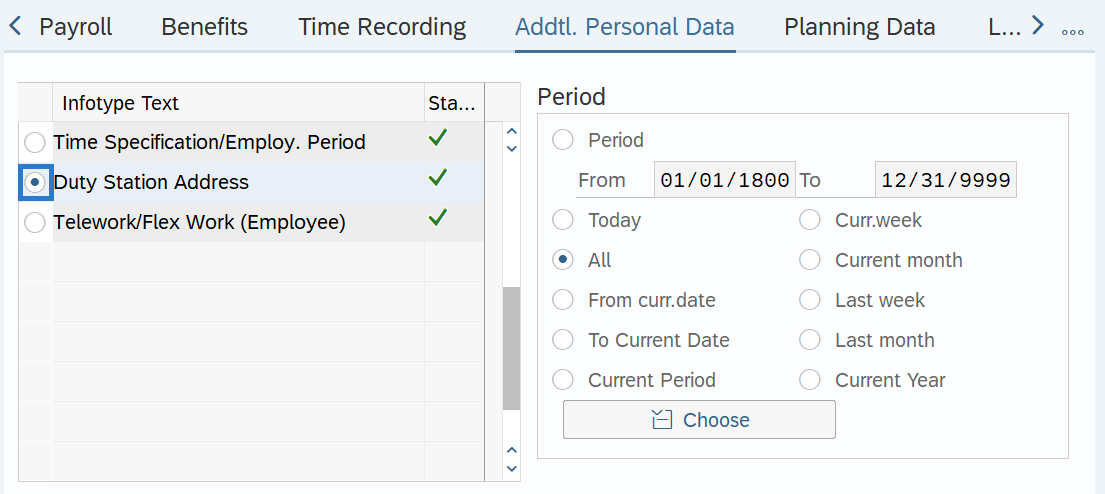
On the Addtl. Personal Data tab, select the Duty Station Address radio button.

-
Step 5
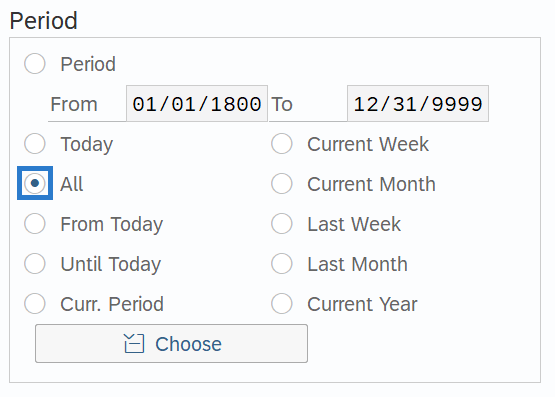
In the Time period section, select All.

-
Step 6
Click the Overview button.
-
Step 7
Select the record you wish to correct or end.

-
Step 8
Click the Change button.
TIPS:Using the Change button overwrites the existing record, and should only be used when making corrections or ending the record.
-
Step 9TIPS:
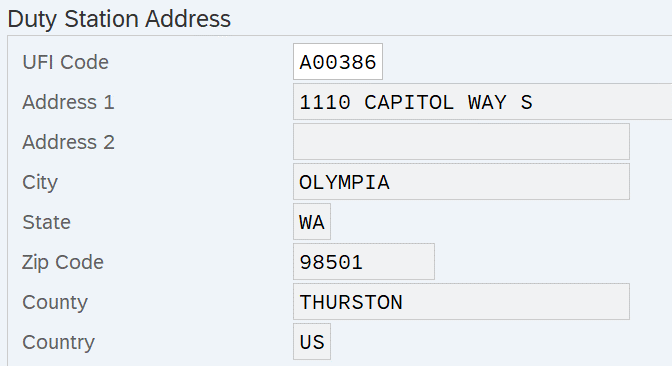
When making a correction to the UFI Code, the Start and To dates should remain the same. Changing the Start and To dates will delete the record being updated.
When working with the UFI Code field you can use the matchcode button to search for the UFI code assigned to the employee’s work location. For more information on using the matchcode search function, refer to the HRMS Search - UFI Matchcode procedure.
If this duty station address record is no longer needed, end the record by changing the To date to the last day the record should be active.
-
Step 10
Click the Enter button to validate the information.
-
Step 11
Click the Save button.

