Residence Tax Area - Create New Record
Use this procedure to create a new Residence Tax Area (0207) infotype record. Residence tax area is used to identify the tax area and tax authorities that are applicable to the employee based on where they are living/residing. Creating a new record is necessary when a record was not created during the New Hire action, or when the employee has an existing infotype record but you do not want to copy over the existing data fields.
To process payroll, employees must have an active Residence Tax Area (0207) infotype record.
The tax areas and tax authorities entered here determine which tax types are assigned to an employee for residence-based taxes. Refer to the Out-of-State Employee Coding Guide and HRMS Data Definitions Resource Guide for more information on which taxes are controlled by this infotype.
The Residence Tax Area (0207) is used in combination with the Work Tax Area (0208), and Unemployment State (0209) infotype records to determine all applicable tax types for the employee.
See Additional Steps for Out-of-State Employees for more information on setting up an out-of-state employee.
Before beginning this procedure, consider using the Out-of-State Tax Authority Locator report to verify the applicable residence tax area for the employee.
Before setting an employee’s residence tax area to Oregon or Idaho, your agency must be configured in HRMS to collect Oregon or Idaho taxes. Agencies will not be able to save an Oregon or Idaho tax area unless they have completed the Additional Steps for Out-of-State Employees – Set Up Tax Company for Out of State Tax Processing procedure first.
-
Step 1
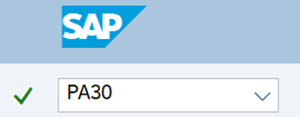
Enter transaction code PA30 in the command field and click the Enter button.

-
Step 2
Complete the following field:
- Personnel no.

-
Step 3
Click Enter to populate the employee information.
-
Step 4
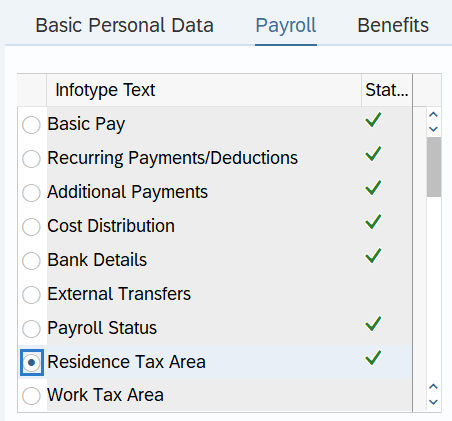
On the Payroll tab, select the Residence Tax Area radio button.

-
Step 5
In the Time period section, select the Period radio button and enter the effective dates of the new record.
 TIPS:
TIPS:The From date should reflect the actual check date the new tax area is to begin. If you are uncertain of the check date, refer to the Payroll Calendar.
The To date should reflect the end date of that tax area:
- If the employee’s residence tax area has no end date, use 12/31/9999.
- If the employee’s residence tax area has an end date, use the day before the check date in which the tax area is no longer effective.
When making a retroactive change in accordance with a specific check date, use the day after the last check date. For example, if the change you are making affects the April 10th check date, enter a start date of March 26th.
HRMS will not retroactively collect taxes from an employee, but will refund an employee and correctly adjust the employer amounts (both collect or refund). Do not make retroactive changes across business areas or calendar years.
-
Step 6
Click the Create button.
-
Step 7
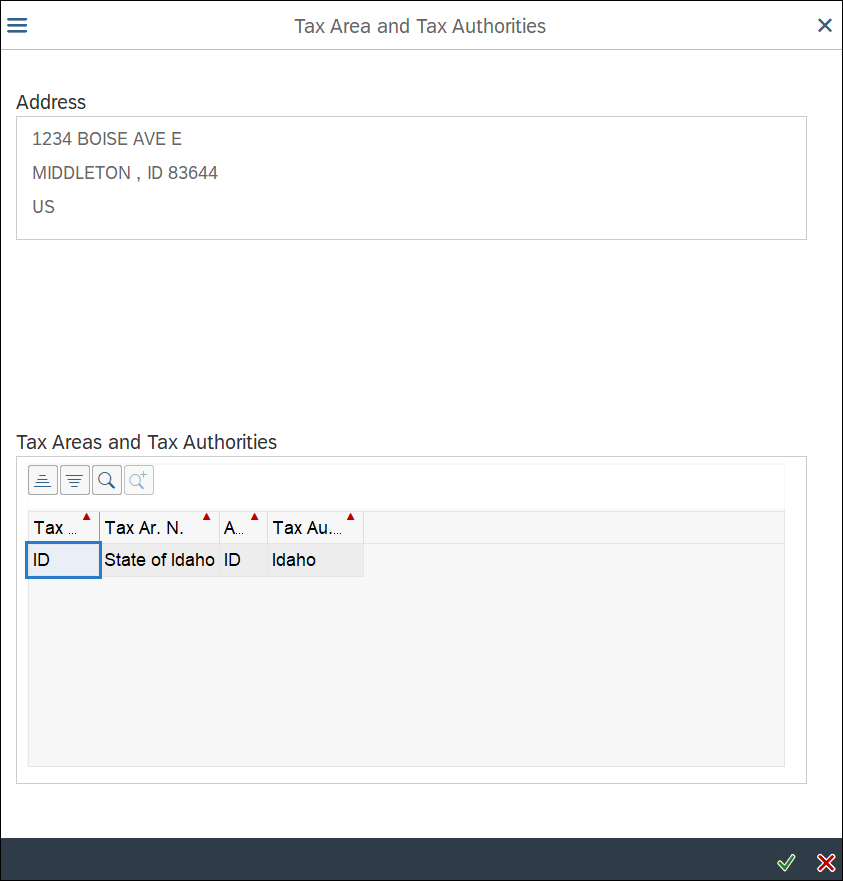
Select the appropriate Tax Area and Tax Authorities.
 TIPS:
TIPS:HRMS automatically populates the Tax Area and Tax Authorities information based off the employee’s Permanent residence stored within the Addresses (0006) infotype. If the employee is residing in a different location than their Permanent residence address record, the residence tax area can be changed from the default value in later steps. Consider working with your employee to determine whether their Permanent residence address record on the Addresses (0006) infotype should be updated.
-
Step 8
Click Enter to populate the Tax Areas and Tax Authorities selected.
-
Step 9TIPS:
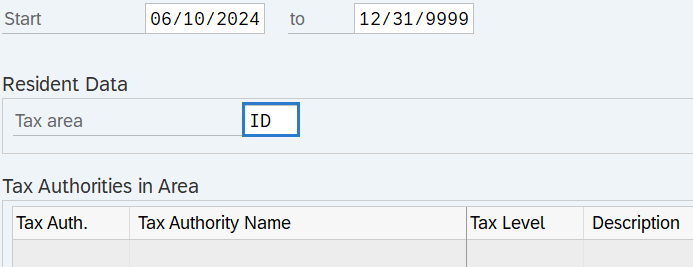
The Tax area field is populated from the Tax Area and Tax Authorities pop-up in the previous step. Processors may manually update the Tax area field if the default value based on the employee’s Permanent residence address is not correct.
The tax area selected will populate the corresponding tax authorities. For example, selecting Tax Area ID will bring in FED and ID tax authorities.
Refer to the HRMS Data Definitions Resource Guide for more information on tax areas, tax authorities, and tax types. Do not use tax area codes other than WA, OR, or ID.
Washington, Oregon, and Idaho are the only states with tax areas configured in HRMS. For employees who reside outside of Washington, Oregon, and Idaho, set the tax area to WA and any out-of-state taxes will need to be calculated and collected manually. Setting the tax area to Washington will turn on federal taxes for the employee, unless they are systematically excluded from federal taxes.
-
Step 10
Click the Enter button to validate the information.
-
Step 11
Click the Save button.
TIPS:Additional pop-up windows may appear depending on what data you entered. Validate each pop-up message to ensure the data you've entered is accurate. You may need to continue clicking the Enter and Save buttons, after validating each message, until the record saves.
When updating the employee’s Residence Tax Area record, it is strongly recommended to check the employee’s other tax related infotype records to determine if updates are needed anywhere else as well. Refer to the Additional Steps for Out-of-State Employees – Set Up Out-of-State Employee and Additional Steps for Out-of-State Employees - End Out-of-State Employee user procedures if updates are needed.
If the employee is exempt from any of the tax types under the selected tax authorities, refer to the Other Taxes US user procedures to create or maintain exemptions.
Out-of-state Residence Tax Area records must be updated to return the employee back to the state of Washington by the losing agency when an employee transfers to a new agency, when an employee separates, or when an employee no longer resides in Oregon or Idaho. Follow the Additional Steps for Out-of-State Employees – End Out of State Employee user procedure for more information.
The only exception is if the gaining agency has communicated to the losing agency that the employee will continue living out-of-state and the gaining agency is fully configured for the applicable OOS taxes and has requested the OOS tax infotype records remain active.

